Emailing and Messaging Your Students
You can message and email students in a number of ways within Moodle / QMplus.
Email and Message
Table of contents
1. Module Announcements [edit]

Module Announcements [edit]
One great option for messaging students is using the Module Announcements which we have covered within a separate section of our TELT guidance material. For further information please have a look here: Announcements | MyQMUL
Quick Mail Block [edit]
Quickmail allows teaching staff to send a message to individual students, a selection of students, or to specific groups that may have been created within the course eg. Seminar group A. It adds a link to a tool that has a check box list of all students in the course, and a mail composition text area – staff (or students, if permitted) can select who they want to send the message to from the list.
You can learn more about this tool by reading are in-depth and specialist guidance: Quick Mail | MyQMUL
Contacting Students Using The Enrolments Section [edit]
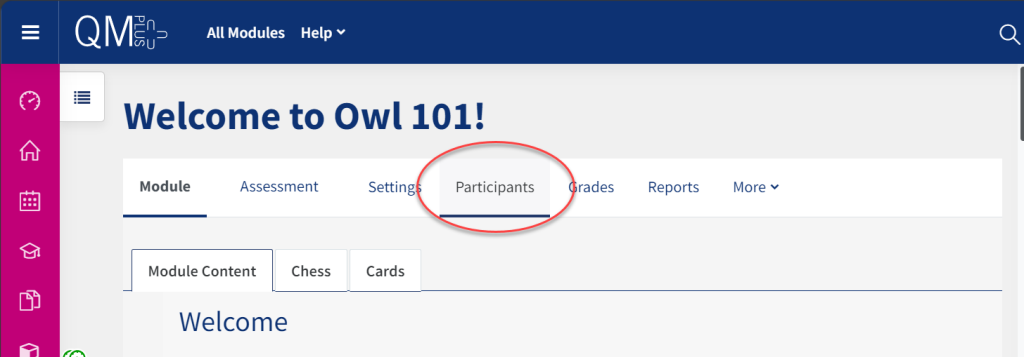
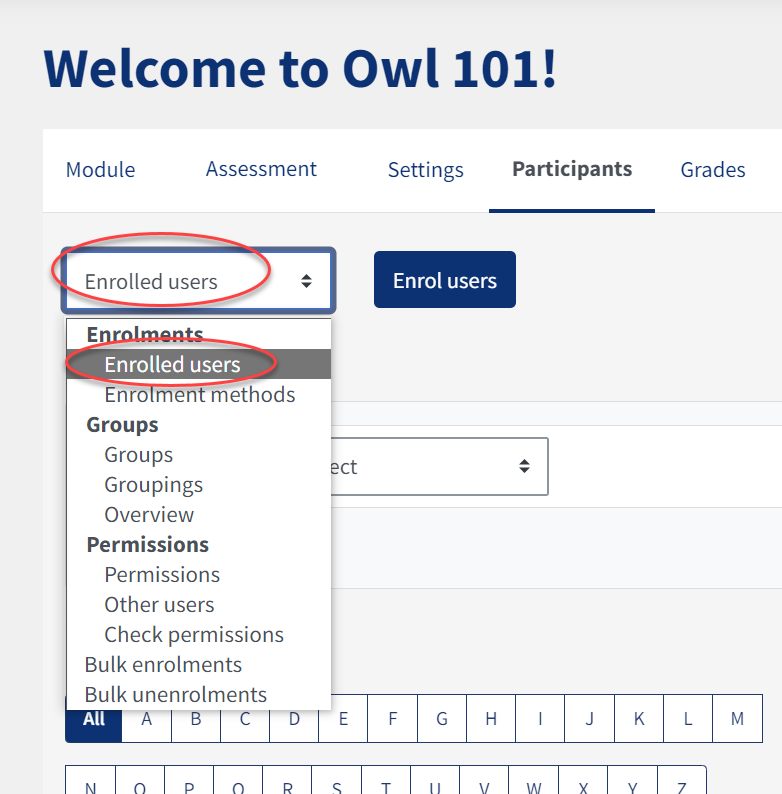
2. Select enrolled users from the drop down menu.
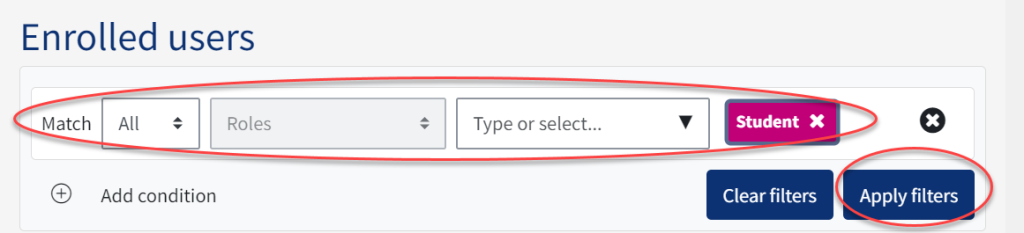
4- You can either select individual students by clicking the tick boxes next to each name or if you want to contact all your students then, at the top left of the list, tick the unchecked box.
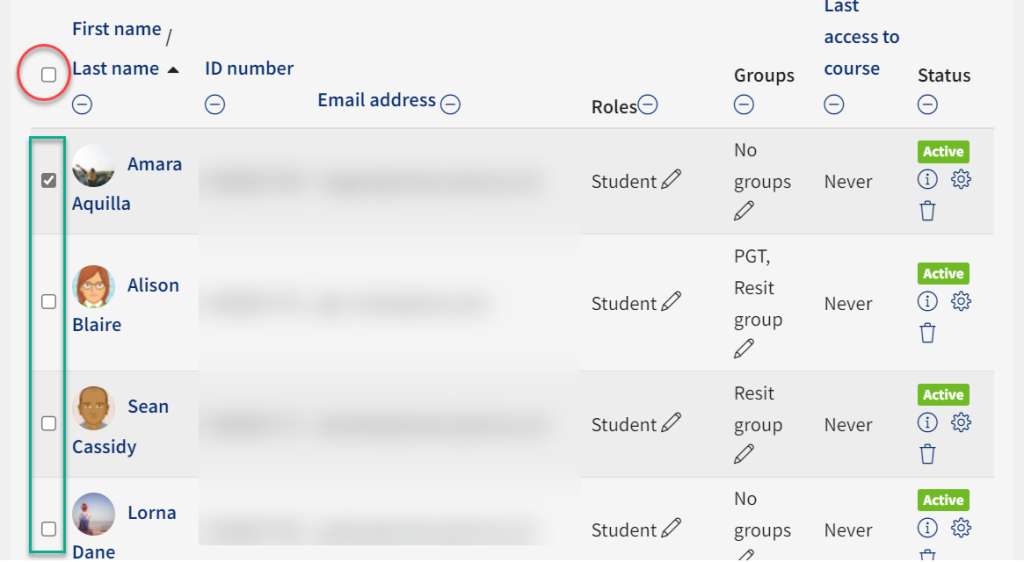
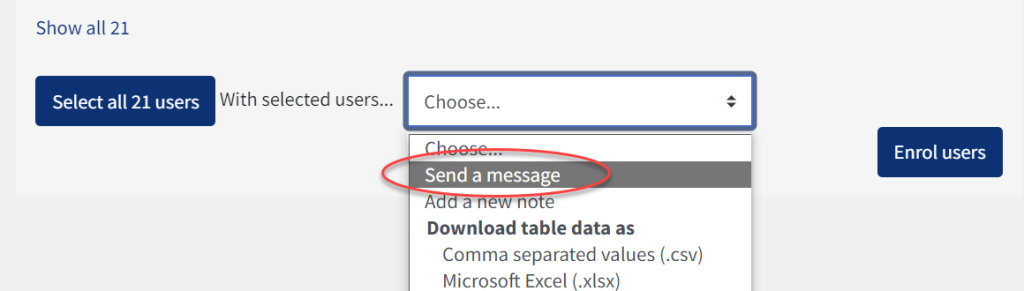
5- Once you have selected the student/s you wish to message, scroll to the bottom of the page and open the menu entitled ‘With selected users…’.
6- To email your students, select ‘Send a message’. Alternatively you can click on ‘Add a note’ that will appear on the students’ screen the next time they access QMplus.
The Messaging Interface [edit]
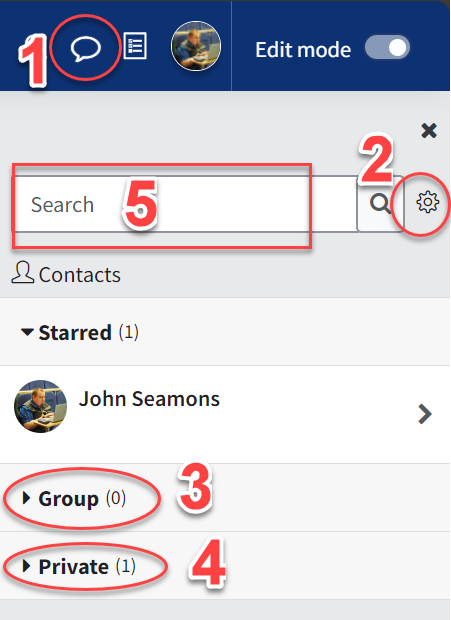
- Click the Message icon to toggle in or toggle out of the messaging window
- Click the Gear icon to personalise your messaging preferences (e.g who can message you and your notification preferences).
- Group conversations – Groups that have ‘group messaging’ enabled will appear in the Group drawer.
- Private conversations can be found here.
- The search box can be used to search discussion.
To turn on ‘Group messaging’ for a group, select participants followed by groups in the drop-down menu.
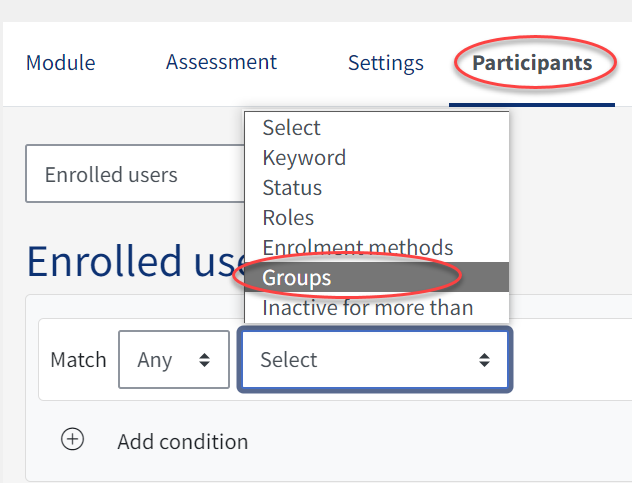
You can then click on the group you wish to edit and click on ‘Edit group settings’.
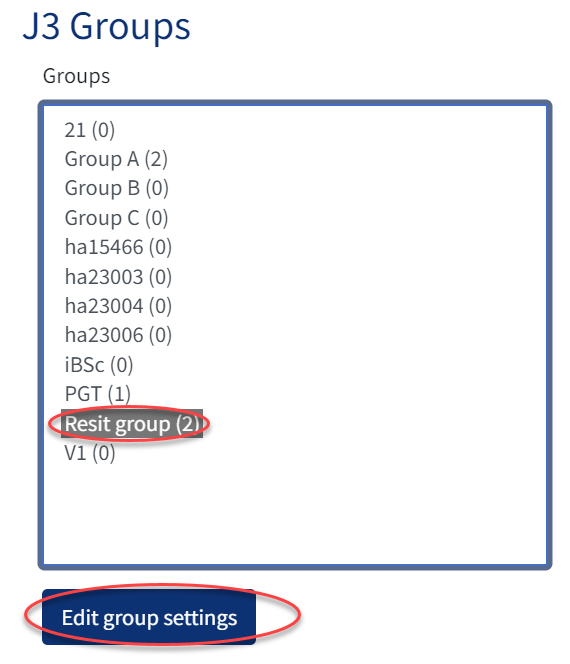
On the next page, change ‘Group message’ to ‘Yes’.

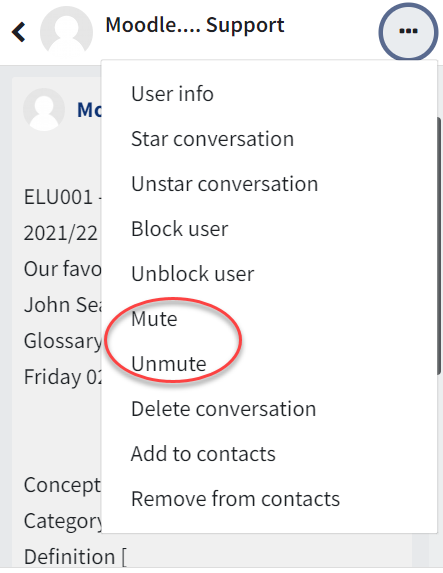
Open a discussion for more settings. There is a mute/unmute option in group and private conversations and if a conversation is muted, email notifications will not be received. For conversations that are not muted, a digest email will be sent.
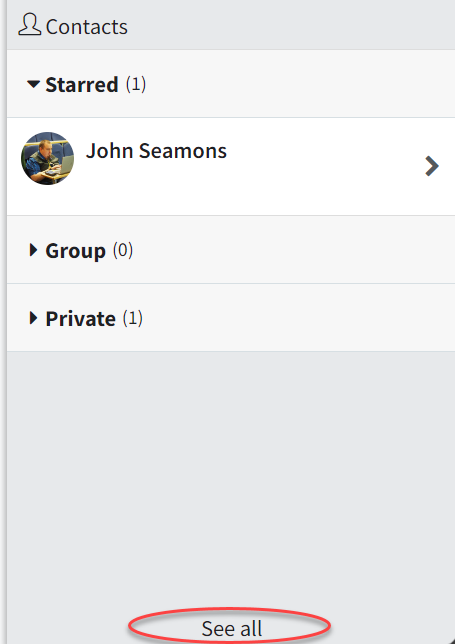
In the Starred messaging section, there is a new personal messaging space for to-do lists, draft messages or reminders.

Select the ‘See all’ button at the bottom of the messaging interface to navigate to the full messaging page where, from July upgrade, there is an improved two column layout.