Taking notes, bookmarking and confusion flags
Taking Notes
Class notes [edit]
EchoVideo lets you take notes while you are viewing a class, which allows you to maintain your own personal Study Guide for the course. Any questions or responses you post for a class are saved to your Study Guide, AND you can bookmark other people's questions, so they also show up in your Study Guide.
Taking and Reviewing Class Notes
Notes you enter during class are synced to the video location or presentation slide you are viewing at the time so that when you go back to look at them later, you have some context for the note you entered. This can be particularly useful if your notes are cryptic or you make note of an item from the class you want to review again. (You can also just add a Bookmark to review that location if a note is not needed.)
Once in a classroom, you can take notes while viewing the class media.
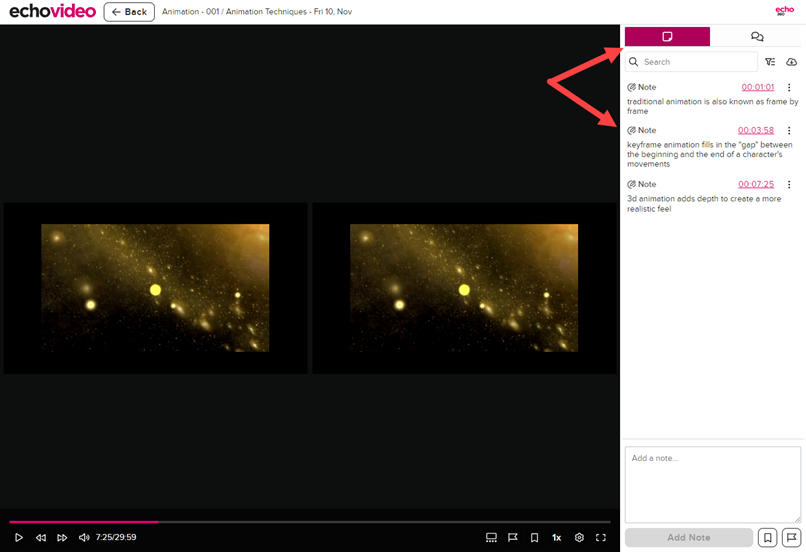
Click the
Notes icon
in the class toolbar, shown in the below figure. The Notes panel appears to the right of the media playback panel. The notes icon also acts as an on / off button, allowing you to click it again to close the Notes panel when not needed.All notes entered appear in the Study Guide tab for the course. In addition, any time you bookmark the media in the class, the bookmark location is added to your notes, both in the panel and in the study guide. This is shown later on this page.
Only you can see your notes. Instructors know which students are taking notes within the interface, but do not see the text you enter.
Since notes are saved in the system as plain text and plain text takes up almost no space, the functional character limit for class notes is so high as to be very difficult to achieve without really trying (400K). So take as many notes as you want!
To take notes
- Click the Notes icon in the toolbar to open the Notes panel.
- Click in the Notes panel and start typing.
- At the end of each note, press Enter. This allows for the entry and syncing of a new note.
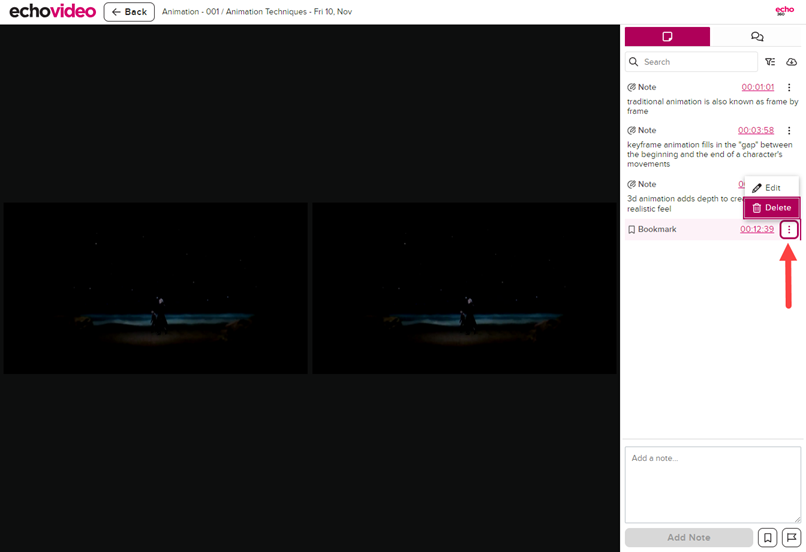
Location information (time and / or slide number) appears in the tag to the left of the note. These tags can be edited (if you need to change the location your note is referencing) or deleted (if the video / presentation location does not matter).
When you click on a note, the media playback changes to sync to that location, giving you context for the notes you add. This applies to both the classroom notes panel and the study guide.
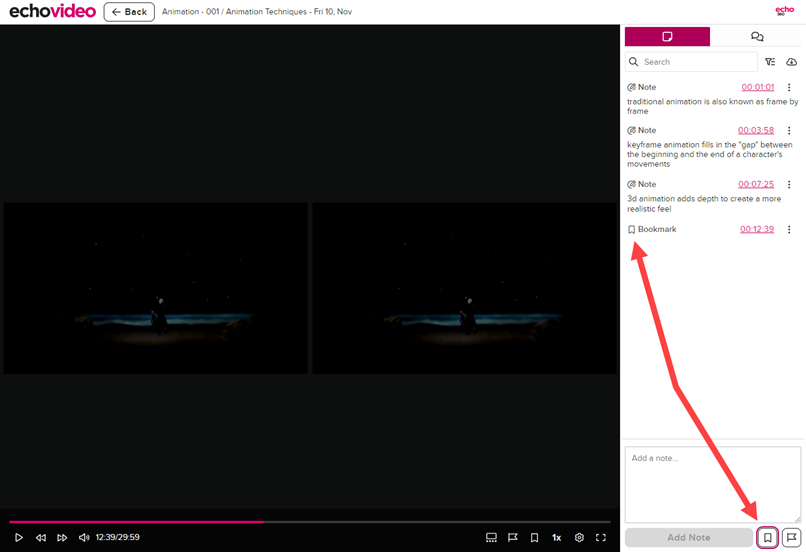
Any Bookmarks you set for classroom content also appear in the Notes panel.
You can also download your notes from the classroom or from the Study Guide tab. This generates a text file containing your class notes.
To edit location timestamp / slide number tags
- Hover over the tag until the drop-down arrow (also called a "chevron") appears.
- Click the chevron and select Edit tag.
- Type in the change and press Enter. Use colons between the hour, minute, and second digits (h:mm:ss).
Alternatively, you can select the Delete tag from the chevron menu to remove the sync tag altogether. The note will remain.