Quickmail
Completion requirements
Provides selective, bulk emailing within courses
Alternate Emails
This option will allow you to add another email account which you may use. This allows you to select which email account you would like students to receive the email from.
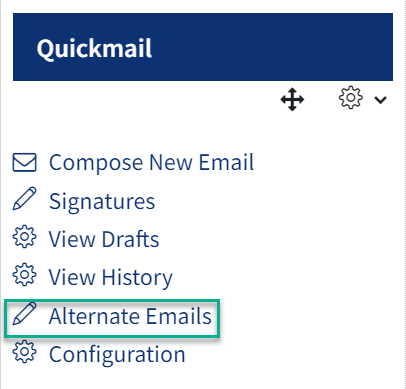
To set this up follow the following steps.Step 1: Select the ‘Alternate Emails’ option from the Quickmail block.
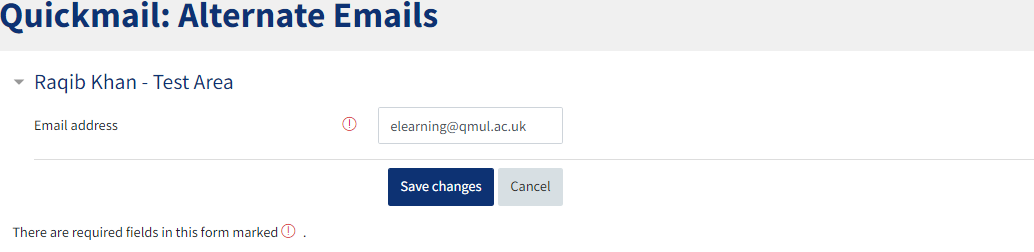
Step 2: Under ‘Email address’, add the new alternate email you would like to send emails from. Select ‘Save Changes’.
Step 3: The following page will appear which explains that the email address will need to be verified. Select ‘Continue’.
.png)
Step 4: The ‘Activation Status’ will show waiting until the email address is not verified. Your alternate email address will receive an email asking you to verify the account. Log into your email account and follow the link to verify the account.
.png)
Step 5: The ‘Activation Status’ will change once the account has been verified to show ‘Approved’.
Step 6: When composing an email you will now be able to select which email account you would like the student to receive the email from.