How to share a link to an MS Teams video recording
How to share a link to an MS Teams video recording
Table of contents
1. Find the file you want to share [edit]
2. How to share the recording [edit]
Find the file you want to share [edit]
If you are the meeting Organiser, open OneDrive/My Files/Recordings folder.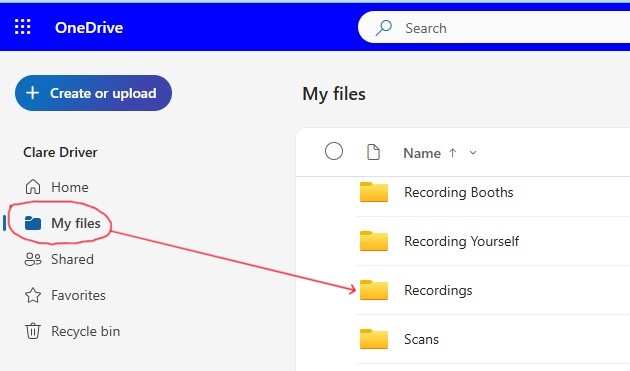
Double click on the Recordings folder to view all the video files you have recorded.
How to share the recording [edit]
Once you have found the recording you want to share, click on the 3 dots beside the file name and select ‘Share’.
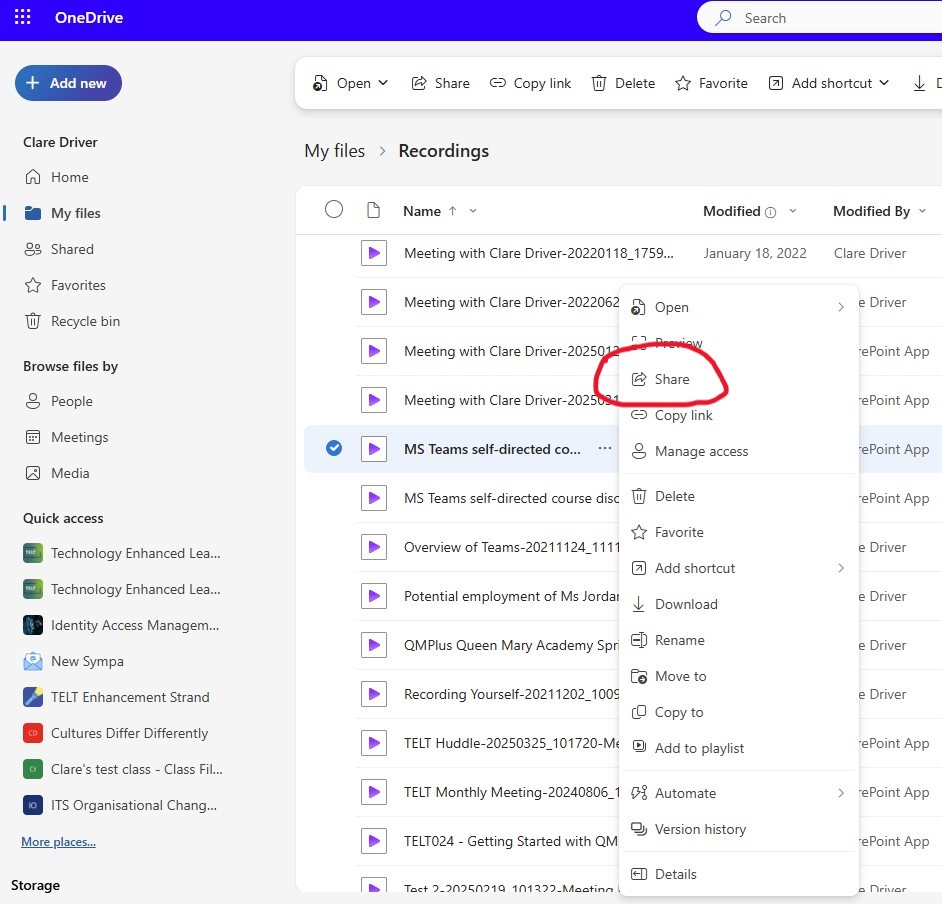
A new pop up window will offer two ways to share the recording.
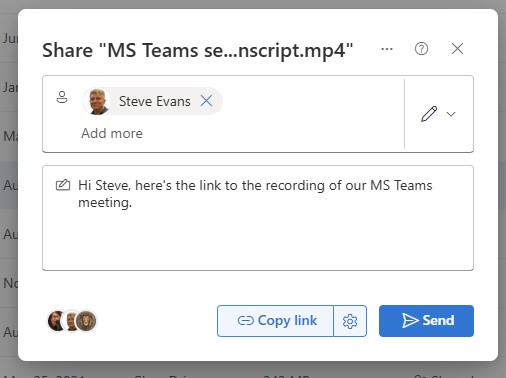
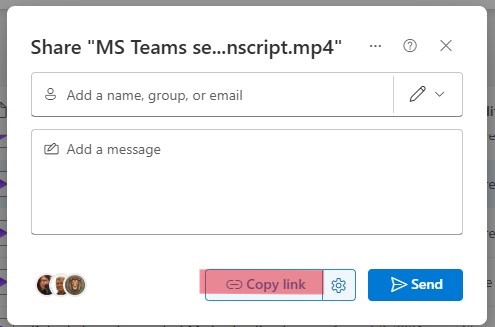
Option 1 - Share the file
a. Enter the recipient's email address and add a message
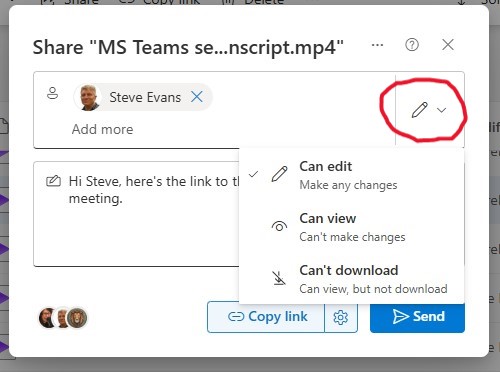
b. Click the drop down menu beside the pencil icon to select the sharing rights you wish the recipient(s) to have.
c. When you have completed the above, click Send.
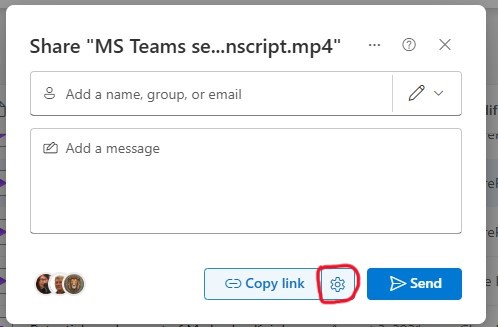
Option 2 - Copy the link
You can share the link to a recording in another app, for example in a QMplus module or on an MS Teams chat. To do this:a. In OneDrive, click the 3 dots beside the recording file name (see the first 3 points in this guide).
b. Select Share from the drop down menu (we suggest you use this, rather than the Copy Link option from the drop down list, as it give you additional sharing settings).
c. In the new pop up window, click ‘Copy link’ and paste the link into an email or on
your QMplus module for people to use.
d. Select the link settings icon next to ‘Copy Link’,
you can amend the link settings.
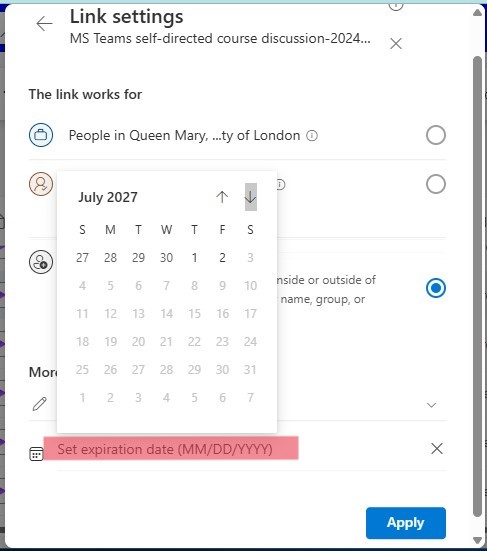
e. A new pop up window opens, showing the various link setting.
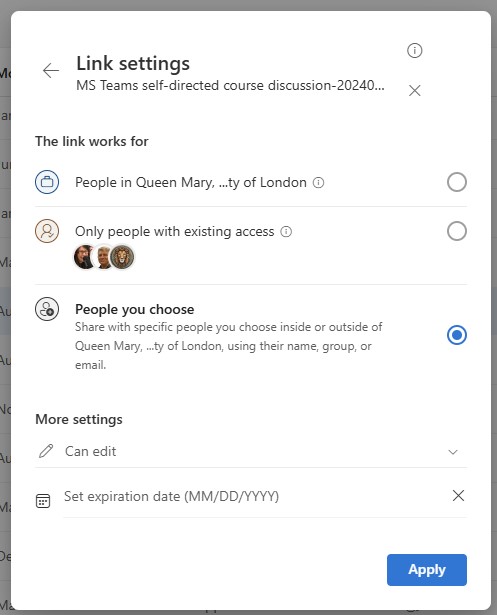
Here you have the options to:
- Choose who the link works for

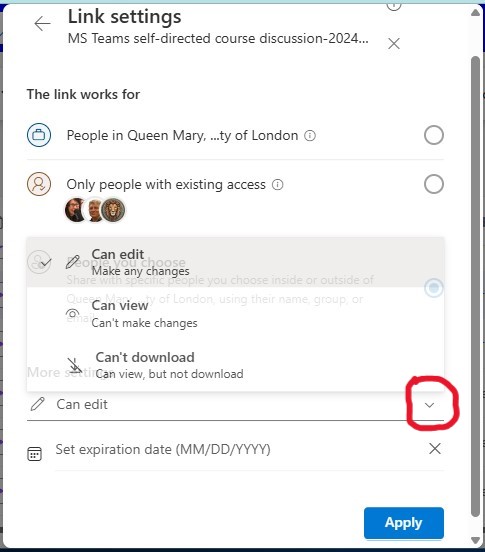
- Select what user rights you wish to assign to those receiving the link (click the Can edit drop down arrow to view the options)
- Set an expiration date if you only
want the recording to be available to others for a limited period (click on the words 'Set expiration date to view the calendar and select a date). The link can be shared for up to 2 years.
It is possible to share the recording from the Microsoft Stream video server, but we do not recommend this, as the files may be removed from there once they have reached the date set by the QMUL/MS Teams license.