Recording a PowerPoint Presentation with Kaltura Capture
Completion requirements
This video shows how to make the recording and upload it to the QMplus Media server.
Recording a Powerpoint
Table of contents
2.1. Configure Recording Settings
2.1.1. Configure specific options:
2.2. Start Recording
2.3. While Recording
2.5. Post-Recording
2.8. The end!
Preparation Steps [edit]
Before getting started you should.
- Install Kaltura Capture software. You can read installation guides for PC or Mac
- Log into QMplus using a web browser
- Prepare your PowerPoint presentation (use desktop app version recommended)
Recording Setup [edit]
- Navigate to the QMplus browser. Click profile icon in top right corner.
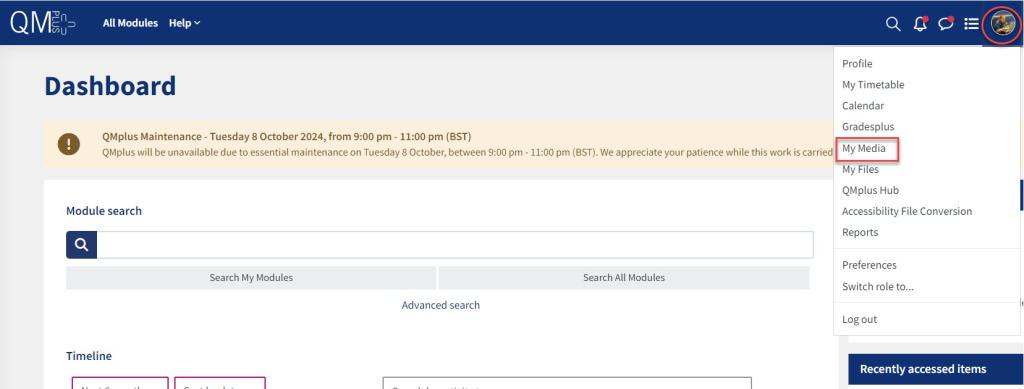
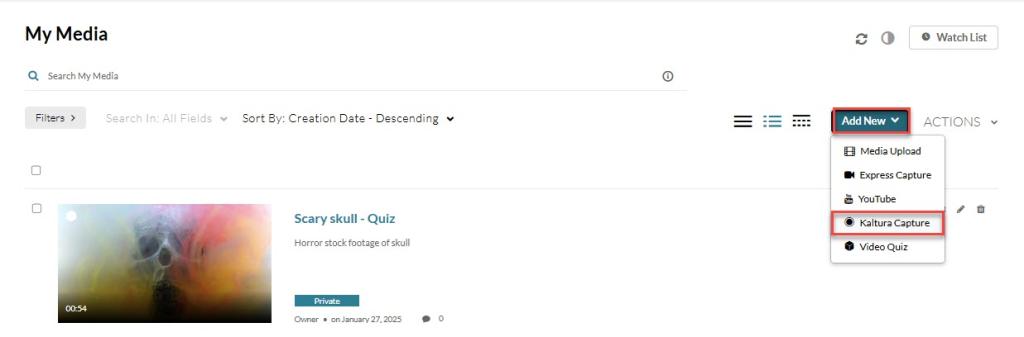
- Select "My Media" from dropdown menu, click "Add now" button and choose "Kaltura Capture"
- Accept terms and condition. You may also be prompted to confirm you want the softer to open.
- Wait patiently for software to load (it may take some time)
Configure Recording Settings
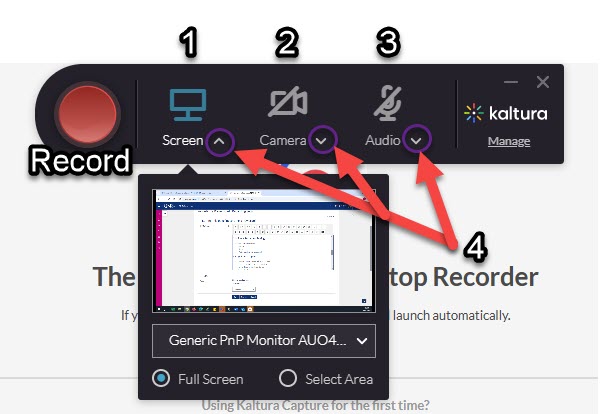
- A popup toolbar will appear to configure the different recording elements:
- Screen
- Camera
- Audio (minimum one required)
- By clicking on the down pointing arrowhead you can reveal sub-options for each element.
Configure specific options:
- Screen: Choose display, full screen or area
- Camera: Select source, check preview to ensure you are happy with the setup
- Audio: Select correct input device. Choose from inbuilt microphone or headset etc..
- Verify all settings are correct
Start Recording
Once ready you should:
- Press red record button
- Wait for countdown
While Recording
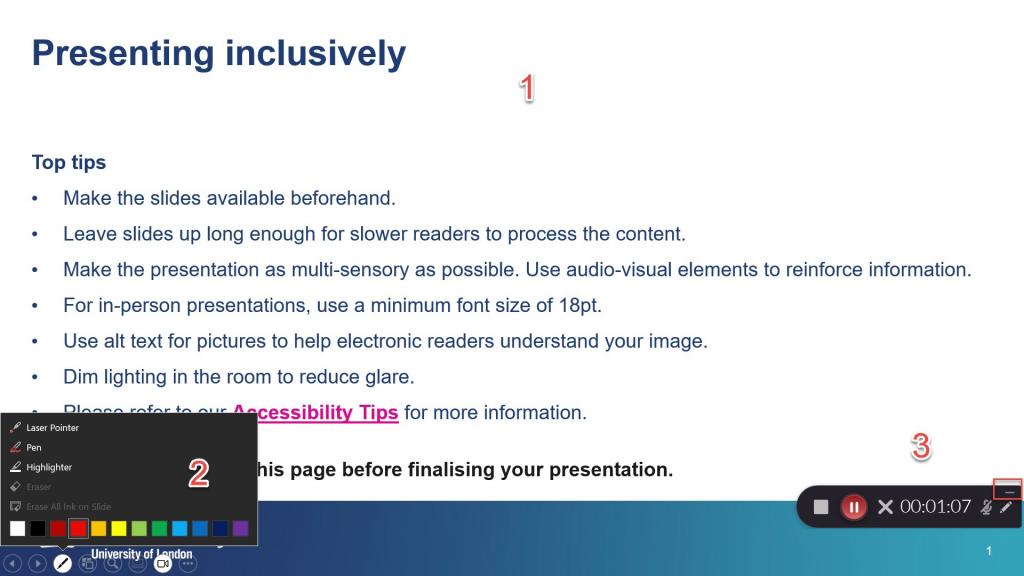
- Start PowerPoint presentation
- Use PowerPoint annotation features as needed
- Minimize control bar to prevent it being captured in the recording.
You can narrate and navigate slides the slides as usual to complete the presentation.
Stop and Save Recording
Once ready to finish
- Click toolbar and select "Stop"
- Confirm stop recording
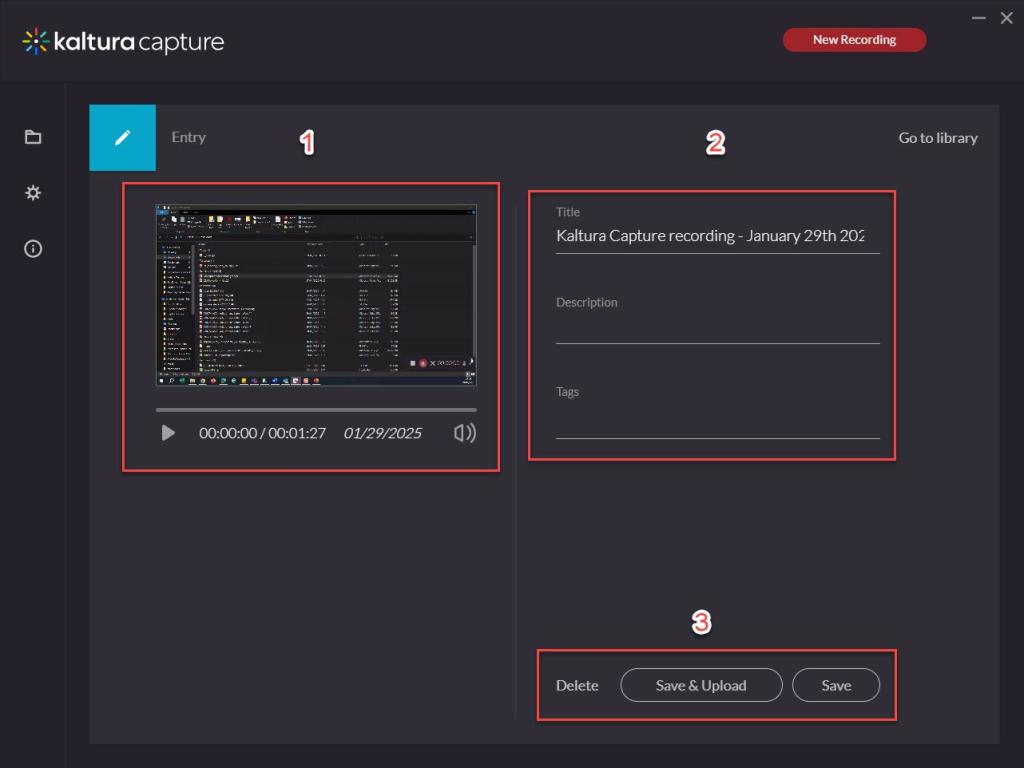
A confirmation screen will appear allowing you to Preview recording
- You can also choose to edit the title, add a description and tags.
- Choose save option: Save locally (on your own server only) or Save and upload to server (saves to your server and uploads to QMplus Media server)
Post-Recording
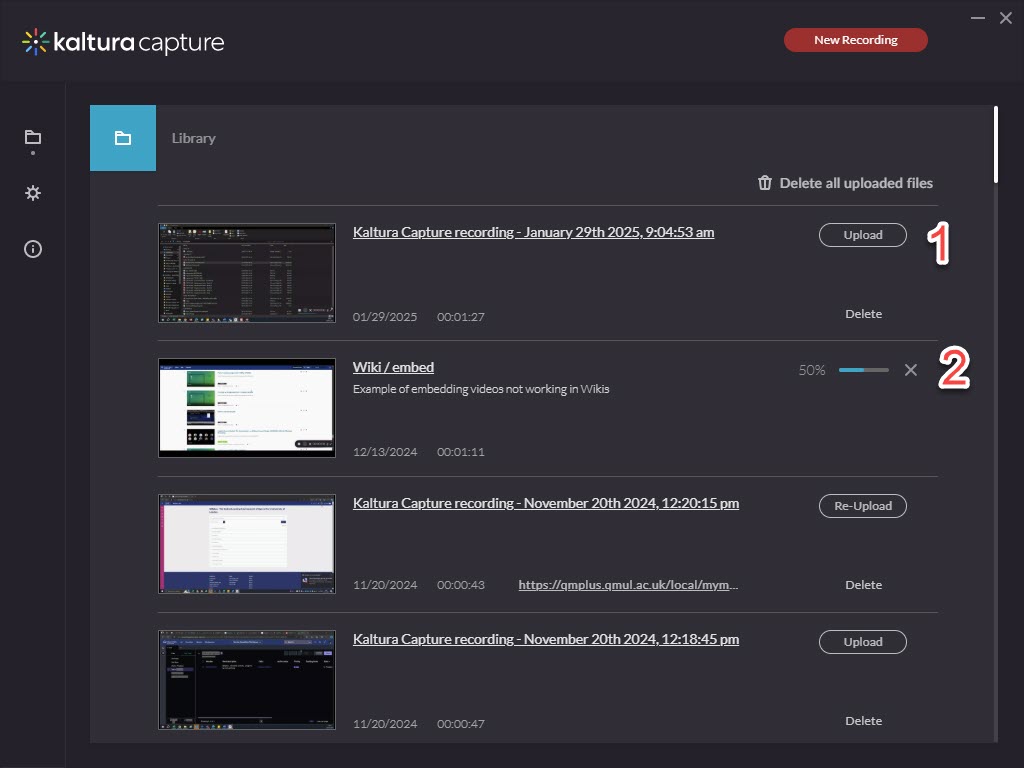
Once the recording is finished:
- Select upload. You will be required to confirm that you own the video and it is copyright compliant.
- Wait for processing (depends on internet speed)
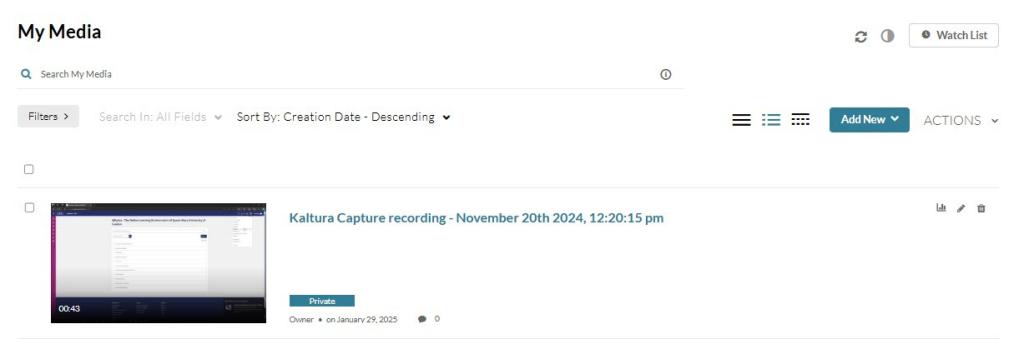
Verify upload completion
- Check "My Media" for video library
- Keep local copy until confirmed upload
The end!
- Thank you for reading