Getting Started with Microsoft Teams
Getting Started with MS Teams
Table of contents
1. An overview of MS Teams [edit]
2. Main features of MS Teams [edit]
3. Getting started with MS Teams at QMUL [edit]
4. Create or join a team [edit]
5. Configure your audio and camera [edit]
8. Activity feed (@mentions) and notifications [edit]
9. Technical requirements [edit]
10. Find out more [edit]
An overview of MS Teams [edit]
Microsoft Teams (MS Teams) is a component of Office 365 designed for online collaboration, linking together email, shared documents, and file storage with real-time communication tools. MS Teams enables text chat within custom ‘channels’ based on groups, topics, or projects. MS Teams also enables video conferencing, which can be used within the context of a ‘team’ (group of users and online workspace) or separately for online meetings, teaching, video calls, and webinars. Utilising integrations with Outlook, calendar invitations can automatically generate temporary meeting spaces to correspond with events. MS Teams is integrated with all QMUL Office 365 accounts and contains many features for online meetings such as group audio and video calling, text chat, screen sharing, breakout rooms, meeting recording, and more. To start using MS Teams, simply open teams.microsoft.com, log in with your QMUL credentials, and use MS Teams on the web or download the Desktop Client on your PC.
Main features of MS Teams [edit]
- Audio and video conferencing with a large number of participants
- Text chat, allowing participants to interact, ask questions, and share files. This is particularly useful for meetings where attendees are restricted from sharing audio or video.
- Screen sharing, allowing the broadcast of your desktop screen or a specific application, like PowerPoint or your web browser. The ‘Give Control’ feature also allows you to temporarily grant control of your PC to another participant – useful for joint presentations. Teams also allows you to upload PowerPoint slides directly into the meeting so you can share a presentation without streaming a live view of your PC screen (ideal for low-bandwidth situations).
- Microsoft Whiteboard can be generated during meetings and collaboratively edited with participants. The whiteboard is available to participants after the meeting via the chat channel under the 'More' option.
- Polls can be created by using the Microsoft Forms integration. In Chat, type ‘@Forms’ to create multiple choice polls for participants. Participants can respond anonymously, and results can be shared with the group.
- Meeting recording can be initiated, allowing you to save meetings in your QMUL OneDrive account. Recordings can be downloaded and shared using your QMplus Media account or embedded within a QMplus module.
- Breakout rooms can divide participants into smaller groups. During breakout sessions, participants can be granted features not permitted in the main room, such as the ability to share audio, video, and their screens. Breakouts can be manually managed or controlled with a pre-determined time limit.
- Reactions allow participants to visually communicate with the Host by selecting options such as ‘Raise Hand’ to indicate a question, which highlights a participant on the screen with the raised hand icon. Others include ‘laughing’ and ‘applause’ to allow for quick interactions with the Host without requiring audio or chat features.
- Live Captions – Teams can generate live ‘machine-generated’ captions during a session. The transcript of recorded sessions can also be downloaded, allowing viewers to search for keywords or follow the text from the meeting audio.
- User roles – each meeting has an ‘Owner’ who controls access to features such as audio, video, and screen sharing. For large sessions, you may choose to create a meeting lobby, limit access to presentation tools, or disable the meeting Chat. Teams meetings created via Outlook or the MS Teams calendar have a ‘Meeting options’ link to adjust these settings in advance, or they can configured during a meeting under the ‘More actions’ menu.
- Meeting notes can be generated for each meeting under the ‘More actions’ menu. This allows any members of the meeting to make notes which are saved and accessible to participants after each session. If using a recurring meeting space, meeting notes can be collaboratively edited over time.
Users who have been invited to a Teams meeting will see a new entry under the ‘Chat’ tab, which displays the start and end times of each meeting, a list of participants, the meeting chat, any shared files, meeting notes, and saved whiteboard activities.
Getting started with MS Teams at QMUL [edit]
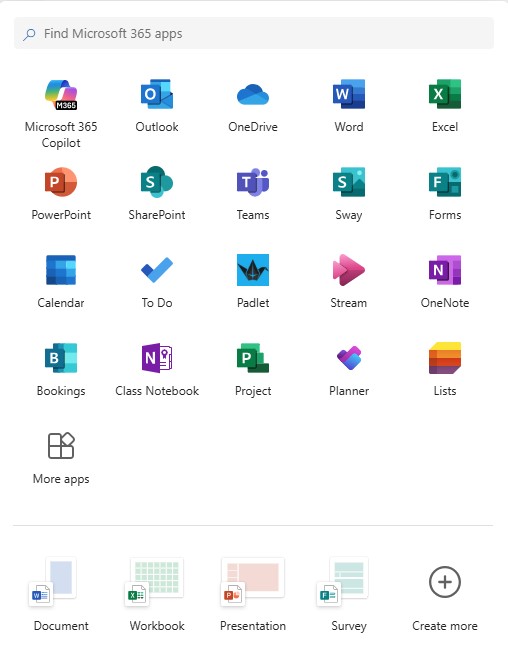
Whilst Teams can be used from a web browser, it is recommended that you download the software to your PC or mobile device for the best experience. To get started, open this page and select the download link relevant to your device. Open the installer file and follow the on-screen prompts to install the application (this may require Administrator privileges on your PC). The MS Teams mobile app is also available in the iOS App Store and Google Play store. Teams is accessible from your QMUL web email account by clicking the ‘Apps’ menu at the top-left corner of the page and selecting the Teams icon. It can also be accessed directly at teams.microsoft.com.
Your account will remain logged in to the app, however, it is possible to switch to other institutional accounts which you have been invited to join as a guest using the Profile Menu at the top-right corner of the window.
Create or join a team [edit]
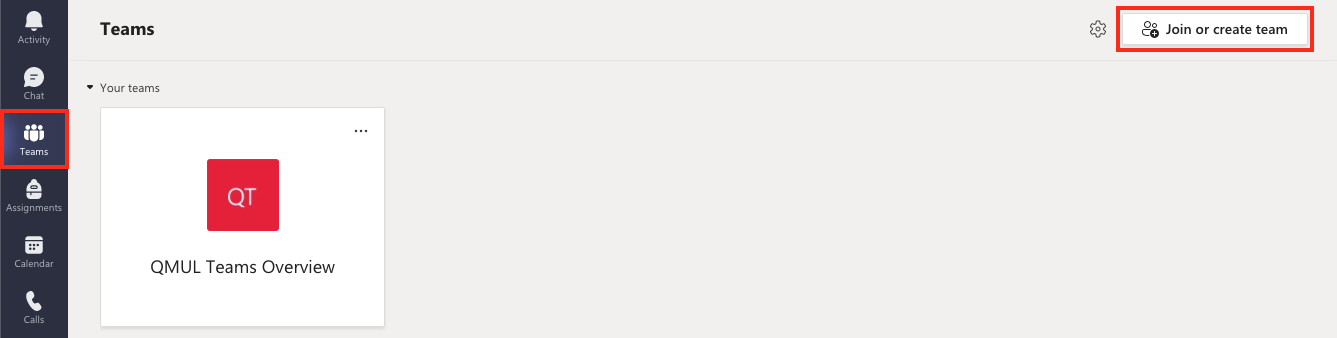
If you plan to collaborate with the same group of people on a regular basis, the first step is to create a team space where you can organise an online workspace and invite other users. Owning a team allows you to set up multiple channels to organise conversations, meeting, and files. With the Teams tab selected on the top-right corner of the window, select Join or create a team.
A drop down box will require you to select the required option
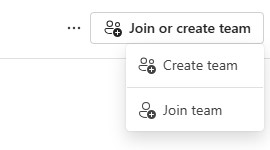
Select Create team.
A new window will display the various options for creating a new team from the available templates – you can read more about team templates on this page.
.jpg)
Here is a closer look at the template types:

Select the option that most closely aligns to your requirements and follow the prompts on each screen.
Select whether you wish to make the Team private or visible to others in your institution (this option is available on all but the Class template.
Give the team a name and description.

Click Create.
The next screen will allow you to add additional members to your team. Learn more about adding guests.
Once configured, you will be presented with your team where you can start new conversations, share files, and start meetings with other members.
Configure your audio and camera [edit]
Before joining a meeting, MS Teams will show a preview window where you can choose your audio and video settings. From this screen, you can select your input and output devices for sound, as well as the correct camera. Teams will usually detect the best microphone and camera automatically, but you can change them at any time.
For audio click the small microphone or speaker icons under Computer audio (for example, to switch to a headset or external microphone).
For more detailed options, select More audio settings.

This will open the audio settings menu where you can choose from all of the microphones and speakers connected to your device. You can also use this menu to adjust to the level of Noise suppression depending on the amount of background noise in your environment.


To preview your camera before joining, toggle the camera setting on to display a preview of your video. You can click Background filters to select a custom virtual background or blur your background prior to joining the meeting. MS Teams will remember your preference and automatically use your background filter for future meetings, even if you join the session with your camera switched off.

To join with audio and video enabled, ensure the toggles beside the microphone and video icons are selected. Once your audio and video preferences are set, click Join now to enter the meeting.

If you are preparing to host a presentation, you may want to adjust these settings and have a quick test meeting with a colleague to ensure that all of your devices are configured correctly so your audience can see and hear you clearly.
Meeting options [edit]
To decide access for participants to all of the available features in Teams, you can adjust the Meeting options.
These can be accessed within a call via controls and then within the drop-down menu selecting "view more options"
.jpg)
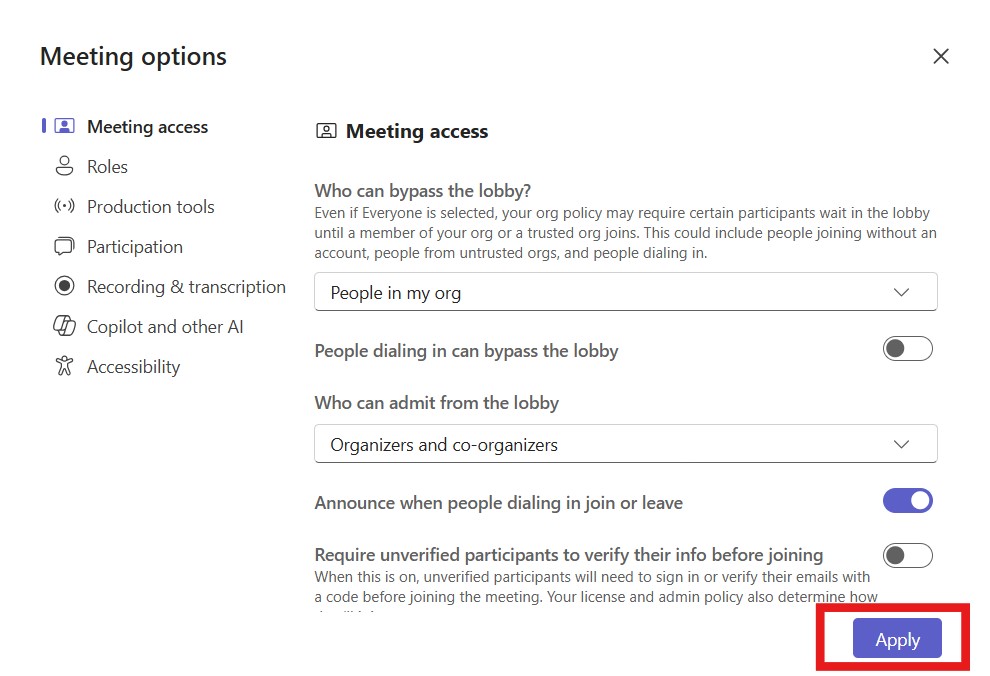
A separate new window opens. From this Meeting options window, you can decide on various parameters for your meeting.
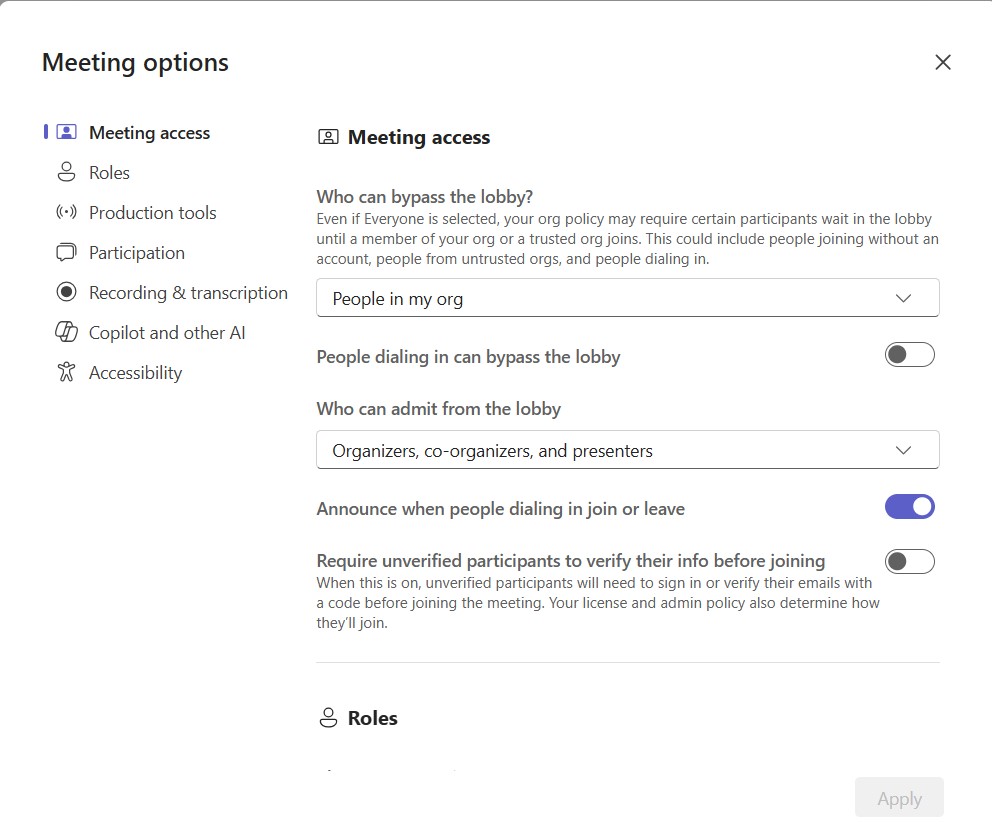
Scroll through the options on the right or select them from the left menu to determine which settings are most suitable for your meeting.
You’ll see that some options are already activated – these have a blue background.
Click on the button to activate or deactivate options.
In the Meeting access option, you can select who can bypass the lobby and who can admit participants from the lobby. You can also request that unverified participants sign in or verify their email address with a code before joining the meeting.
Roles enables you to nominate invitees to be co-organisers. This is particularly useful if you won’t be attending the meeting yourself. The co-organiser can run the meeting. In this section you can also select who is able to present. This option can be changed during the meeting in the active MS Teams app.
Production tools enables organisers and presenters to check their audio, video and content before attendees are admitted. You’ll need to active this setting before the meeting starts.
Participation determines the mic and camera permissions you give participants.
In this section you can also decide whether or not to activate the chat facility.
Take a look at the Q&A and reactions functionality. You may find these useful for teaching purposes.
And finally you can also decide whether or not you want an attendance report to be generated at the end of the lecture.
Recording and transcription gives you the option to record and transcribe your session automatically, so you won’t need to remember to hit the record button at the start of the lecture.
Our use of Copilot and other AI is determined by our IT team, so is not a variable function. It is set to be used during and after the meeting.
The final option is called Accessibility and here you can select CART captioning. This requires a link to be sent to a translater ahead of the scheduled meeting time.
[Please note, if you don't want to use CART captioning, automated captions can be selected during the MS Teams meeting. A description of where to find the automated captions and other accessibility options can be found at the bottom of this guide*.]
Once you have selected your options, make sure to save them by pressing Apply at the bottom right of the Meeting options window.
Meeting options can also be configured in advance for meetings scheduled in Teams or Outlook.
Open the calendar event.
Select Meeting options
This will open the same Meetings options window described above.
You may wish to follow our video guides on Meeting options.
How to amend MS Teams Meeting options during a lecture
How to access MS Teams Meeting options in your calendar invite
Accessibility [edit]
To use accessibility options, including automated captions during a meeting:
Select controls and then within the drop-down menu selecting "view more options."
.jpg)
Select Accessibility from the side panel on the left.
The Accessibility options will appear.

Activity feed (@mentions) and notifications [edit]
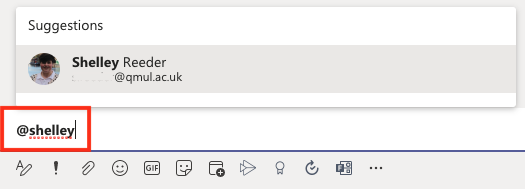
MS Teams uses the @ symbol to tag specific users within a team or meeting to notify them they have been mentioned by another user. Depending on how your MS Teams notifications are configured, this may generate a pop-up or email notification for the person or group mentioned. This is useful if you want to direct your message to a specific person or group with important information that may be otherwise missed.
Technical requirements [edit]
MS Teams requires a stable internet connection, a Windows PC, Mac, or modern mobile device, a microphone and camera. Meetings can be joined using the Desktop Client, Mobile App, or updated web browser (not recommended for Hosting meetings). For full technical requirements, click here. To view detailed browser requirements, click here.
Find out more [edit]
- Check TELT's MS Teams page on the CPD training site for upcoming workshops.
- Try it out - create an ad-hoc meeting or practice with a colleague
- Browse official Teams documentation