Resources
Completion requirements
This guide covers the types of resources that you can add to QMplus, such as:
Books, Pages, Text and Media areas, Files, the Lightbox and Course media galleries.Creating a Lightbox Gallery
Table of contents
1. Step 1: Adding a Lightbox gallery to your module page [edit]
Step 1: Adding a Lightbox gallery to your module page [edit]
- TURN EDITING ON via the slider in the top right of your screen.
- At the end of the topic where you would like to add your ‘Lightbox gallery’ click on the Add an activity or resource button.
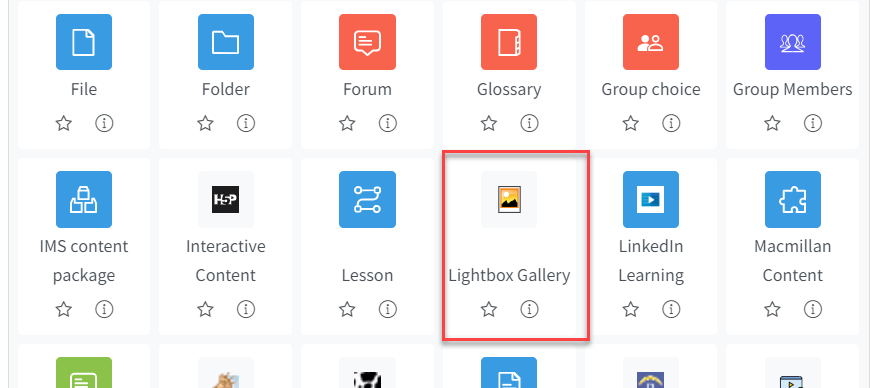
- Select Lightbox gallery. This will open the ‘Lightbox gallery’ option screen.
Step 2: Filling in the Lightbox gallery options [edit]
- Give the ‘Lightbox gallery’ a name. This name will appear on your course page.
- Add a description about your gallery images.
- Click on the Advanced section to change the settings for layout and privacy. For example do you want students to be able to add comments? Then enable this option.
- Scroll down and click Save and Display.
Tip: Two powerful options that are available through the advanced setting are: Automatically resize – large images will be automatically resized to fit the users screen, and Allow comments – users comments are displayed at the bottom of the page.
Step 3: Adding images to your Lightbox gallery [edit]
- Click on Add Images.

- Click on the add file icon or drag and drop your images straight onto the page.
- Uncheck the Disable box beside the resize option. Then choose a small size option to ensure that they are of the best size and the resource loads quickly
- Locate your files in the usual way then click the Add Images button
.png)
Tip: If you plan to upload multiple images at once from a PC then it would be advisable use Microsoft’s compressed (zipped) Folder tool. Please note that zipped files do not need to be unzipped when using the Lightbox gallery.
Your final product should look something like this:
.png)