Blocks
Adding a Sticky Block (Admin Only)
This guide is for Administrators. It assumes that you have administrator rights in QMplus.
A sticky block can be added to a specific category making it appear in every page within the category. The settings allow you to manage the block depending on how you would like it to be displayed. When you edit a sticky block the changes appear across all the pages in the category (if the block has been configured to show on every page). When the block is edited or deleted at a course level, it is also edited or deleted across the whole category. The block can be added to a particular sub category or department.
Adding a Sticky Block [edit]
1. Log into QMplus
2. Navigate to a course page and turn Edit mode on
![]()
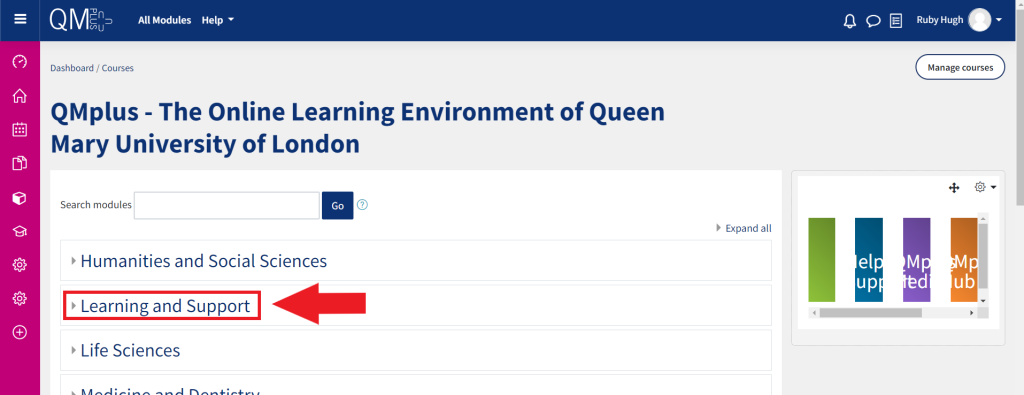
3. From the blue panel at the top of the page, click 'All Modules'
4. Click on the category which your department belongs to e.g. Learning and Support.
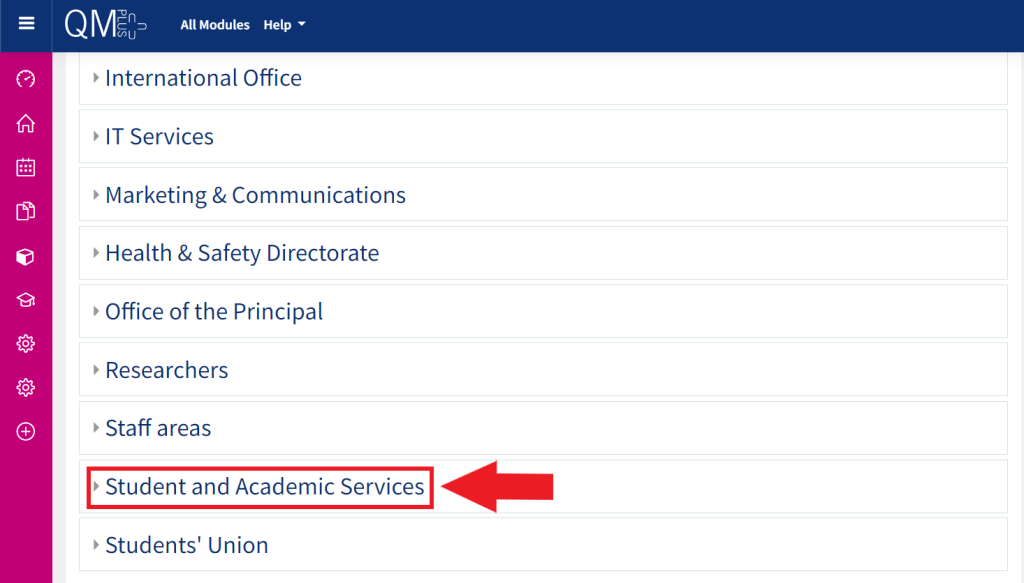
5. Click on the subcategory which belongs to you e.g. Student and Academic Services.
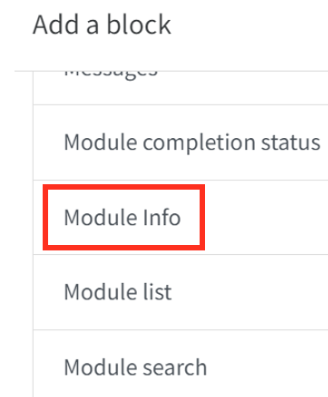
You will now have the option to 'Add a Block' on the category page, located in the top right corner of the page.

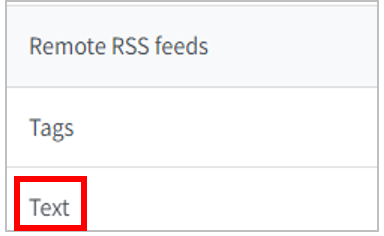
7. Select the block which you would like to make sticky, e.g. the Text block. (This used to be called the HTML block)
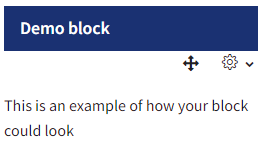
8. An empty block will now appear on the page.
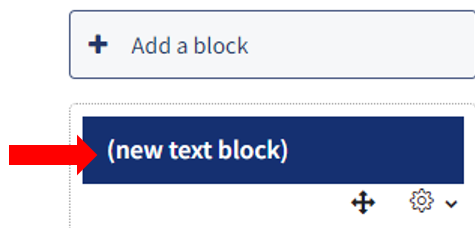
9. When you are in editing mode, small icons appear below the block's heading.
![]() The cross arrow allows you to reposition the block by dragging and dropping it.
The cross arrow allows you to reposition the block by dragging and dropping it.
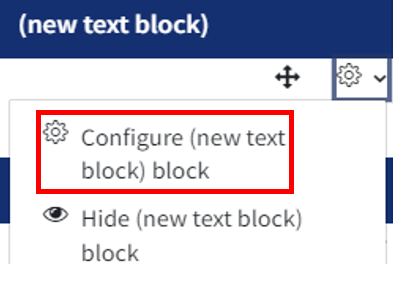
 The cog icon provides access to a menu which allows you to configure, delete, show or hide your block.
Click the cog icon and choose Configure block
10. You will now have the option to add a block title and add content.
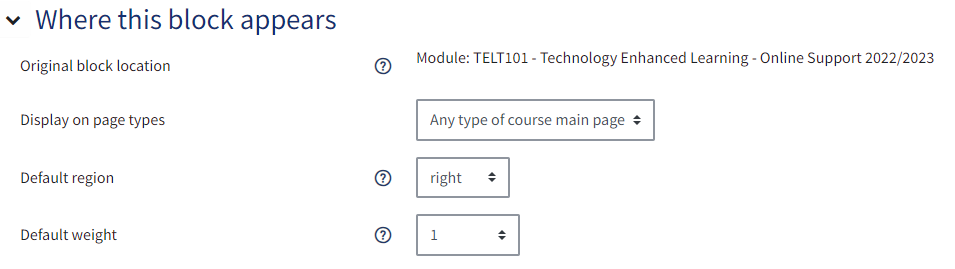
You can also scroll down to Where this block appears.
If you would like the block to appear on all pages within the category, you must select the following options:
- Under ‘Display on page types‘, select ‘Any Page’
- Under 'Default region', select whether you you want the block to appear on the right side, top or bottom of the page.
- Then click ‘save changes‘ at the bottom of the page
11. The block will now appear on the page as shown below.
Deleting a Sticky Block [edit]
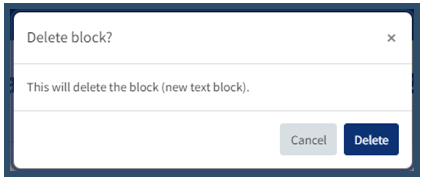
IMPORTANT: Please note, should you delete the sticky block at course level, it will delete the block across the category too.

2. You will then be notified about deleting the block from the different areas it appears in. If you have set the block to appear within any page in the category it will receive a warning statement, such as that shown below. To continue with deleting the sticky block, click ‘Delete’.