Rewards - Certificates
Overview
Table of contents
2. About QMplus certificates? [edit]
2.1. What to consider when using certificates
2.2. Adding a certificate to your QMplus course
2.3. How your certificate will be issued
2.4. Designing the certificate
Overview [edit]
Certificates and badges are a great way to reward students enrolled on your course to show achievement and progress. Certificates are generated in the form of a PDF which the student can either download or can receive via email. Badges are images that can be displayed prominently in a learners digital backpack, in their profile, email or social media sites.
About QMplus certificates? [edit]
The certificate activity in QMplus allows you to award certificates of achievement to students enrolled on your course area. These certificates are generated in the form of a PDF which the student can either download or can receive via email. In setting up a certificate, you will need to decide what students have to do to earn it as well as deciding what it will look like and what information will be displayed on it.
Once the students have met all the criteria for a certificate, they can generate it themselves from the course area. You can also easily keep track of which certificates have been awarded to each student and even keep a copy of the PDF files which were generated in your course area for future reference.
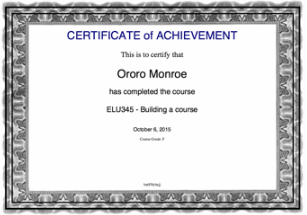
The default certificate
This is an example certificate generated from a QMplus course area. You can click on the image to view the PDF of the certificate. In this example, the certificate shows:
|  |
|---|
It is possible to customise some aspects of a certificate both the information that appears on it and some of the design aspects such as the border used. These customisation options are relatively limited.
What to consider when using certificates
Although you will have to make some decisions about what your certificate will look like and what data it will have on it, the most important thing you need to consider is what your students will have to do to achieve it.
Examples could be:
- Students take an end of course quiz and can get a certificate if they achieve a “pass” grade
- Students can generate a certificate when they have been awarded an overall grade for the course
- Students can generate a certificate if they have engaged with the activities in the course area. In this case activity can be tracked using the activity completion feature of QMplus.
Adding a certificate to your QMplus course
- First decide where you want to put the link to the certificate in your module area. Students will have to use this link to generate their certificate so think about where it will be easy for them to find.
- Then from the course page switch the 'edit mode' on (top right of the page).

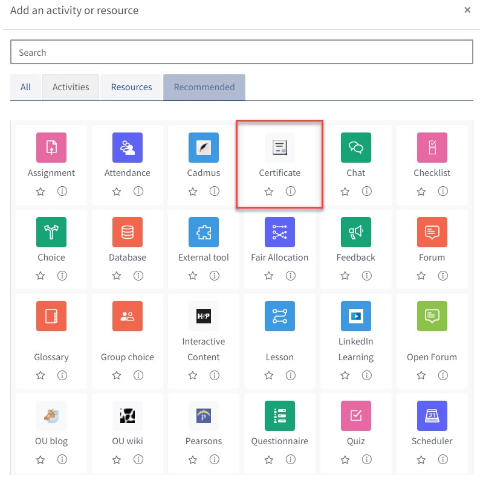
- Go to the section/topic where you wish the certificate to appear and click on the Add an activity or resource link. Select ‘Certificate‘ from the list of available activities.
Give the certificate a name, something like Get your certificate would be appropriate. The introduction text is optional and only appears to the student after they have clicked on the certificate link. You might want to put some suitable congratulatory text in here.
How your certificate will be issued
The issue options section of the certificate settings page controls how your certificate will be issued to the students.
You can configure the certificate to send an email each time a certificate is generated. This email can be sent to all teachers on the course or you can define specific email addresses. If you were running a mandatory training course on QMplus, you might wish to set this to a shared administrative email for instance.
You then have to decide how the student will receive the certificate. By default, the certificate will generate and automatically open in a new browser window. You can change this to automatically download the certificate to the students computer or for the certificate to be sent by email.
You can choose to save a copy of all the certificates that are generated in your QMplus course area. These are accessible through the certificate report. This might be useful for future reference.
Designing the certificate
There are two aspects to what your certificate looks like:
- The text that will appear on it – controlled by the text options settings
- Design features such as borders and watermarks – controlled by the design options settings
More information about the Certificate design
Setting up the criteria to award the certificate
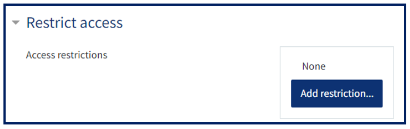
Once you have decided what your students have to do to be awarded a certificate you can apply the required restrictions through the Restrict access settings on the certificate activity. This means that the student will not have access to the activity to generate the certificate until they have satisfied the relevant criteria.
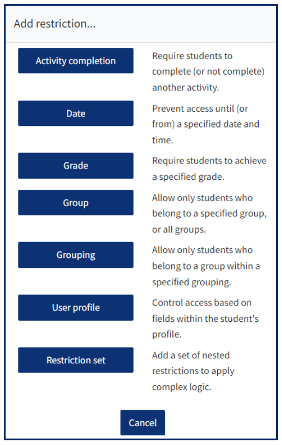
To do this, go to the Restrict access section on your certificate activity settings page and click the Add restriction button.
Here you can set up the criteria by which the students get access to generate their certificate.
One option could be dependent on grades. In this example the student will only be able to generate their certificate if their grade for Assignment 1 is greater than 70%.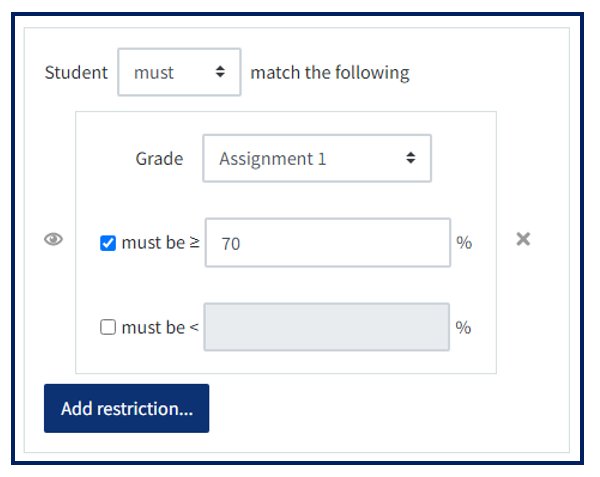
Another example could depend on using the activity completion tracking feature of QMplus. In this example you would click on the Activity completion button.
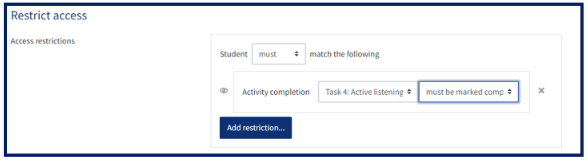
You can choose from the activities in your course area which have activity completion enabled. You can add further activities by clicking on the Add restriction… button.
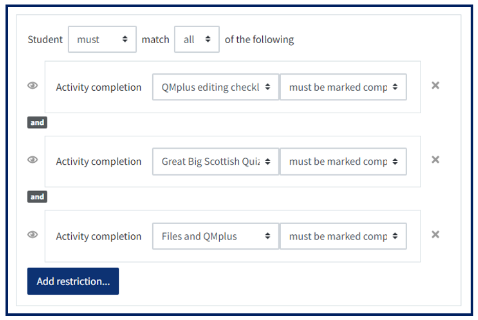
Here we have set up 3 conditions that the student must satisfy before they can generate their certificate
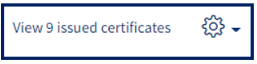
Keeping track of who has received a certificate
You can keep track of who has generated a certificate from your course by viewing the certificate report. You can access this by clicking on the certificate activity. The text in the top right corner of the next page indicates how many certificates have been issued. You can view the details by clicking on this text.