Course Formats
This guide looks at the different types of course formats available and adjusting these to suit your page best.
Course Format
Table of contents
1. Choosing your course format
[edit]
2. Using the Grid Format [edit]
3. Reducing the length of your course page with ‘one section per page’ [edit]
3.1. Setting up your course to use the one section per page layout
Choosing your course format
[edit]
A course format refers to the layout of a course and greatly impacts the look and feel of your course page. The Collapsed topics format is the most commonly used format on QMplus and is what you will get by default when you have a new course area created. You can, however, change this through your course settings. For details on each format please view the Changing the look of your course with formats Moodle doc.
Using the Grid Format [edit]
The grid format provides a modular and visual course format. It hides all the topics and creates a grid of icons, one for each topic within the course. When you click on one of the grid icons it will display the content from the corresponding topic.
- Go to your course, click on the Settings option in the menu panel at the top of the page.
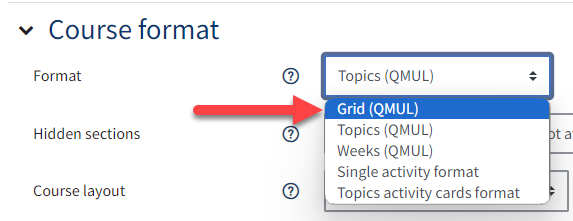
- From the Settings page, scroll down to Course format option and click on Format drop down and then select Grid (QMUL).
- Scroll to the bottom of the page and click 'Save and return' or 'Save and display'.

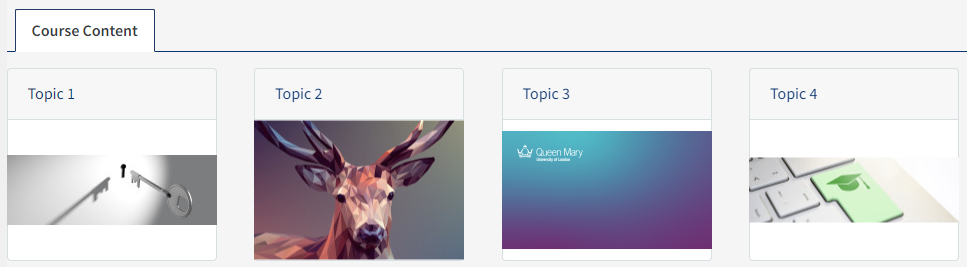
- All the topics and their resources will be hidden and a grid of icons will be displayed, one for each topic.
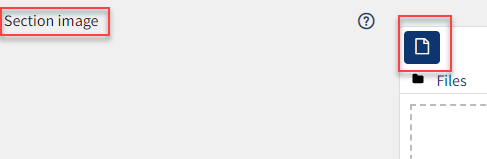
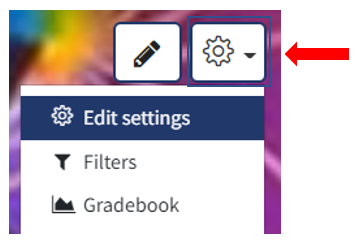
- You can change the image displayed by turning Edit mode on (top right corner) and clicking on the three vertical dots to open the action menu. Select Edit Section and you'll be redirected to the Section page.
Scroll down to Section image and click the dark blue file icon to upload or select an image. When you are through, scroll down and click Save changes..png)
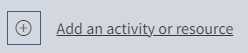
- To add content to your topic, ensure Edit mode is on and look below each topic for the Add activity/resource button:
You will still have all the usual options for this format, such as hiding topics, highlighting and moving them around.
Reducing the length of your course page with ‘one section per page’ [edit]
Course pages in QMplus can easily start to become very long. As you add topics, resources and activities students can end up spending a lot of time scrolling up and down the page. Here is one way to remedy this potential problem - by using the “one section per page” layout.
This means that instead of all the topics being on one page, they are split across several pages. The student can quickly get to the contents of the topic they require and can navigate between sections via navigation links.
Setting up your course to use the one section per page layout
- Go to your course, click on the Settings option in the menu panel at the top of the page.
- From the Settings page, scroll down to the course format option and for the course layout select 'show one section per page'.

What a one section per page course looks like
- This screenshot shows a course Module Content on QMplus using the “one section per page” layout.
- Each topic in the course area appears as a box on the page with an idea of the type of resources held within the topic to the right of each topic's row.
- Click on title of any topic to view the content.
.png)
You can skip ahead through topics and expand the drop downs for each topic as well to go straight to the activities.
.png)
Useful Resources [edit]
Changing the look of your course with formats (Moodle Doc)