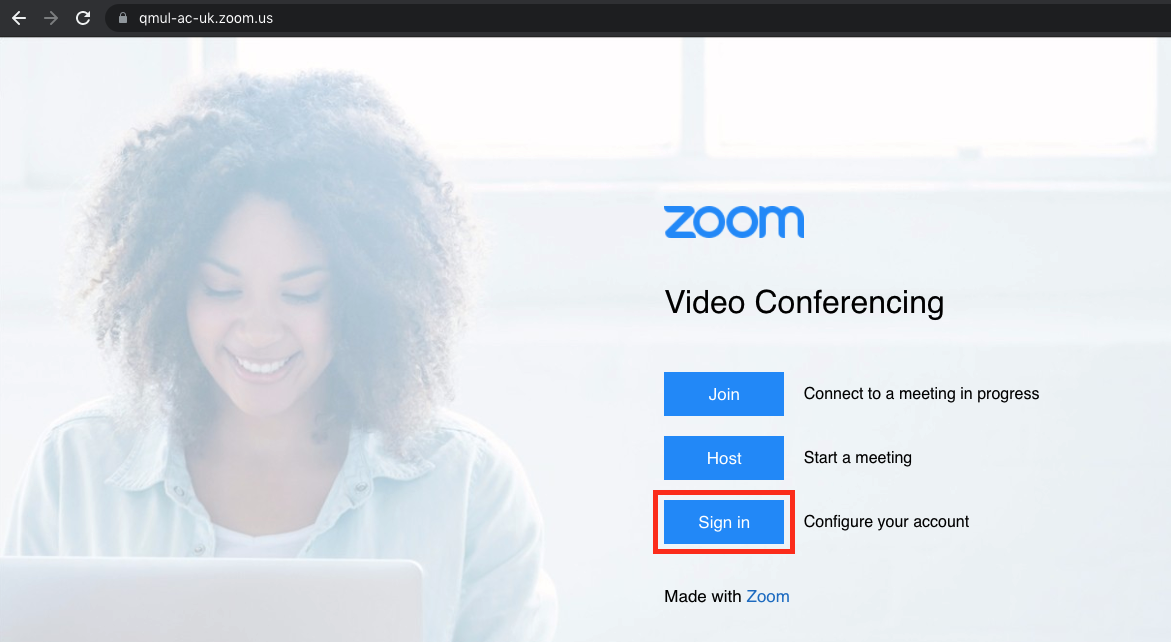
Your Zoom Account
How to update your Zoom desktop client
- Find and double click the Zoom desktop client icon. The desktop client window will open.
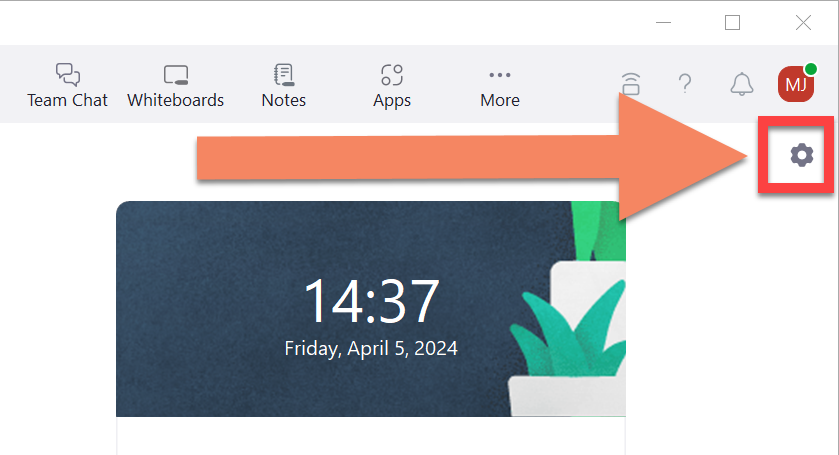
- Near the top right corner (below your profile picture), you will see the Settings cog. Click this to access your settings.
- A new Settings window will open. Select the tab labelled General.
- In the right column, under the heading Zoom updates check the box beside the option to Automatically keep Zoom desktop client up to date.
- Once the box is checked, an additional drop-down menu will give you the option to select either Slow or Fast updates. The ? icon offers further information.
- We recommend using the Fast option to ensure your client is updated regularly.
.png)
Technical requirements for joining a Zoom session
Zoom is a multi-platform service, which can be used across a range of computing platforms and devices. Meetings can be hosted or joined using the Zoom desktop client (Windows, macOS, Linux), browser client (Edge, Firefox, Chrome, Safari), and mobile apps (iOS, Android). You will also require a stable internet connection, and depending on your role within a meeting, you may also need a microphone and video camera. When hosting or needing to share content with participants, it is recommended that you install and configure the desktop client in advance of your first session.
You may want to test your Zoom configuration with a colleague in advance of any important teaching sessions or meetings to identify potential issues. Please note that you may require administrator permissions on your PC to install the desktop client.
If you require technical assistance with your Zoom account or installing the software on a university device, submit a request with the IT Service Desk.
Recommended system and bandwidth requirements
When hosting a meeting using the Zoom desktop client, it is recommended that your PC has a dual-core 2.0Ghz or higher processor (Intel i3/i5/i7 or AMD equivalent) and at least 4GB of RAM.
Your internet connection should provide a stable 4.0Mbps or higher to utilise all Zoom features. Bandwidth used by Zoom will be optimised based on your network conditions, and will automatically adjust for 4G, WiFi, or wired environments.
Supported operating systems and mobile devices
Zoom supports the following operating systems and devices:
- Windows 7 or higher (Windows 10 recommended)
- macOS 10.9 or higher
- Ubuntu 12.04 or higher
- iOS 8.0 or higher
- iPadOS 13 or higher
- Android 5.0 or higher
- Tablet PCs running Windows 10 (S-Mode not supported)
Supported browsers
Zoom supports the following web browsers:
- Windows: Edge 12+, Firefox 27+, Chrome 30+
- macOS: Safari 7+, Firefox 27+, Chrome 30+
- Linux: Firefox 27+, Chrome 30+
- Please note that not all features are available in the browser client:
- Unable to manage scheduled meetings
- Limitations on screen sharing, remote control access, breakout rooms, and chat
- No local recordings
- Zoom Meetings and Webinars comparison by platform
Cameras, microphones, and headsets
In order to fully participate in Zoom meetings with audio and video, you will require speakers or headphones, a microphone, and a webcam. These devices may be built-in to your device, or you may be required to connect an external headset and camera. Zoom should automatically detect any connected devices which can be selected in the audio and camera settings. However, if you are having issues, please see the Zoom knowledge base for troubleshooting video and audio problems.
When hosting a session, use a wired headset when possible. This will increase the audio quality, decreases the chance for echoes or audio distortion, and will be more reliable than a wireless headset. Bluetooth audio devices can increase latency, are prone to connection issues, and can run low on battery during a session.
Whilst most standard USB audio and video devices will automatically work, Zoom has a list of officially supported devices on this page.
Virtual backgrounds
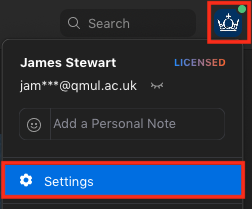
Zoom can allow you to conceal or blur the background of your camera, replacing it with an image or video. To set a background or filter, click your profile menu and open the Zoom application Settings.
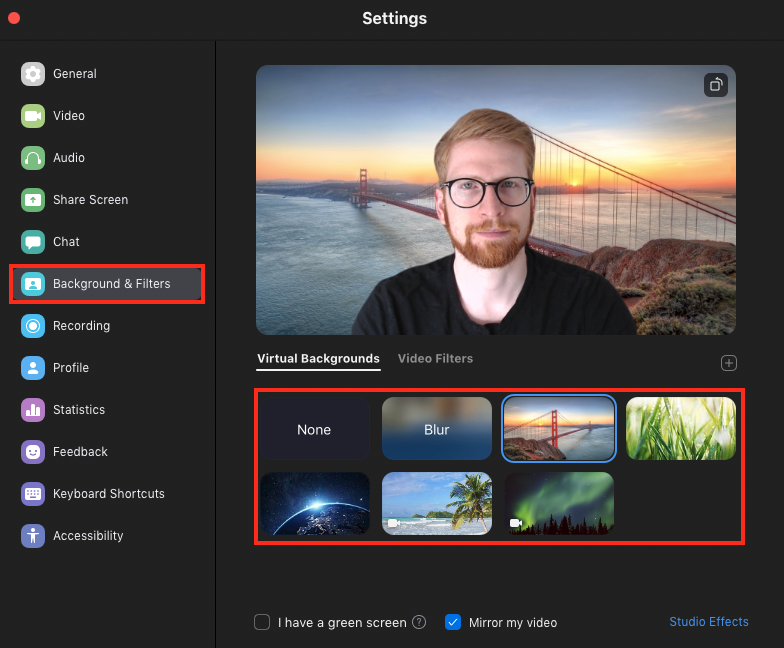
Additional guidance on configuring the Virtual Background feature.
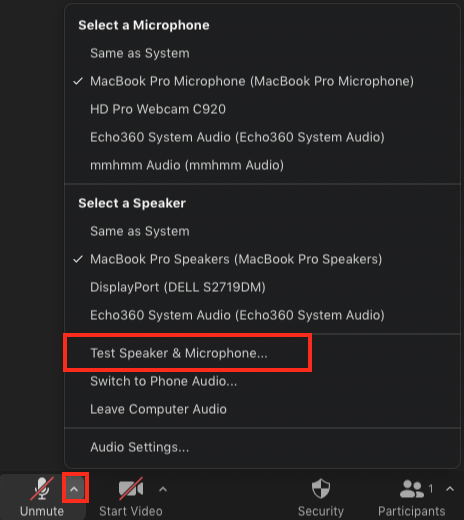
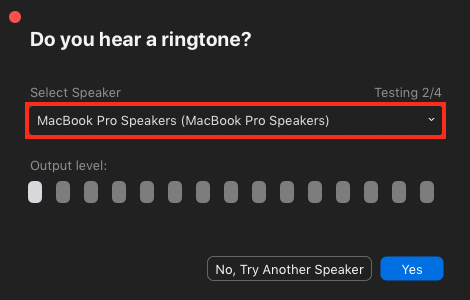
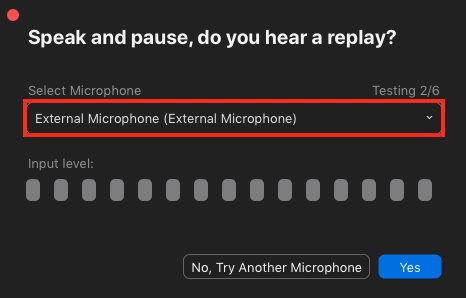
Test your audio (Speakers and microphones)
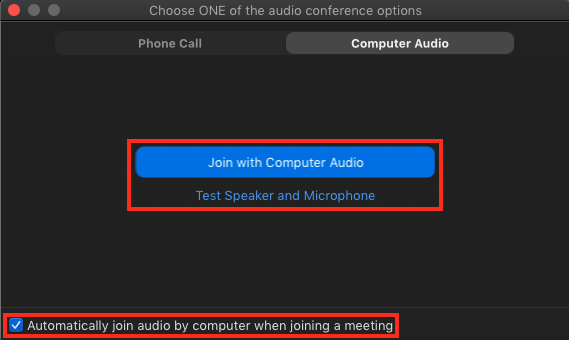
Before your first meeting, ensure your audio and video devices are tested and working as expected. Follow the steps below to test your speaker and microphone, and preview your camera: When first joining a meeting, you may be prompted to Join Audio. Clicking this option will open a window where you can tick a box to always Automatically join audio by computer when joining a meeting.
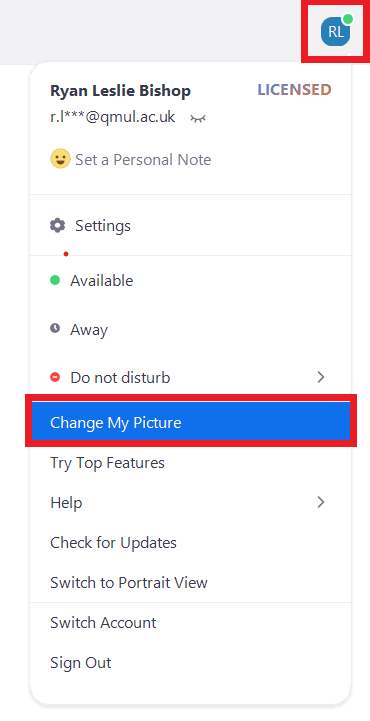
Uploading a profile picture in Zoom
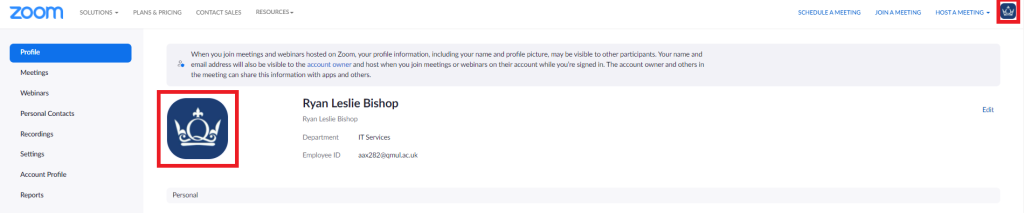
Uploading a profile in Zoom is useful for identifying your account in meetings, particularly during sessions when not using your video camera. Your Zoom profile page is where you can access your Personal Meeting ID, edit your preferred time zone, and upload a profile picture.
Your profile picture will display in Zoom meetings beside your name on the Participants menu and, when your camera is not enabled, in the meeting window to show that you are present in the meeting.
Accessing your Zoom profile
When using the Desktop Client, open the profile menu in the top-right corner and select Change My Picture. This will open a web browser and prompt you to log in to your account.
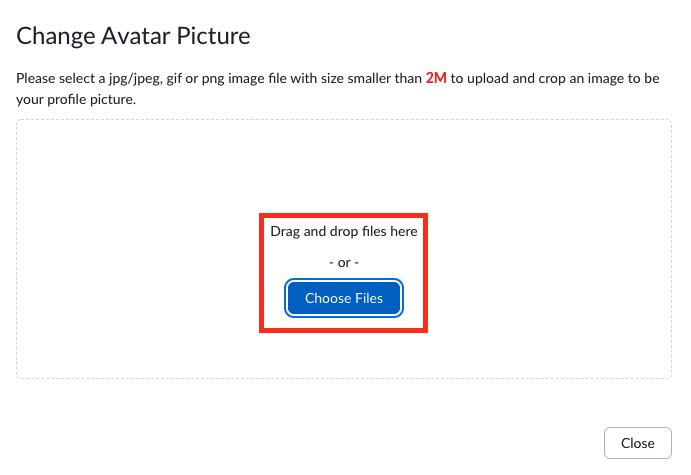
Uploading your profile photo
With your Zoom profile open, move your mouse over the default image until you see a pencil icon appear, click this icon.

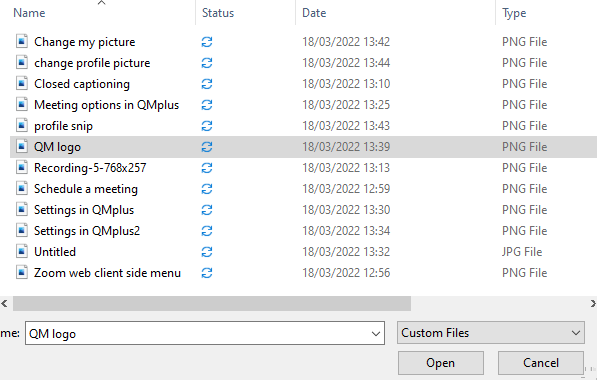
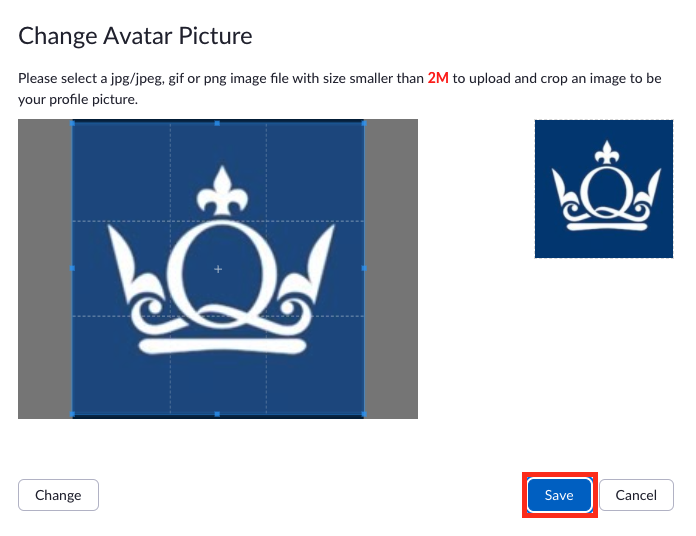
A window will open allowing you to drag and drop an image file to upload. Alternatively, you can click Choose Files to browser your PC for an image file.