More information about the areas above
The Advanced Search
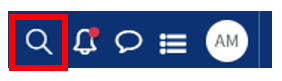
To access QMplus' Advanced Search feature, click on the magnifying glass icon in the QMplus header
When you enter your search term and click search, the Advances Search screen will open.
The initial search results will be available, but above this is the option to perform a more in depth search.
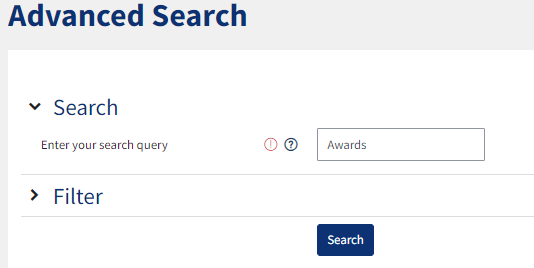
From here you can click the arrow next to Filter and use the available fields to refine your search.

Notifications
Notifications alert teachers, students and other users about events in Moodle such as new forum posts, assignments needing grading or badges awarded.
New notifications are highlighted with a red dot in the notifications menu at the top of the screen:

Clicking on this displays the notification panel, from here you can read the most recent notification(s) and perform the following actions
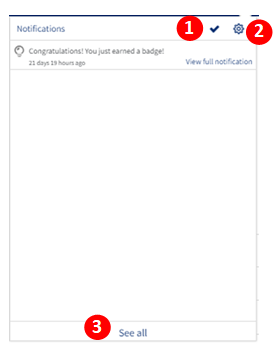
1. Mark the email as read.
2. Configure how you are notified of new events. From this page you can choose which activities you are notified of and whether you receive emails about them
Please note this setting will override any others, so if you set an assignment to notify you of submissions, but you have your assignment email notifications turned off here, you will not be notified.
3. See all your previous notifications.
Messaging
Please click here to read our guide about messaging your students from QMplus.
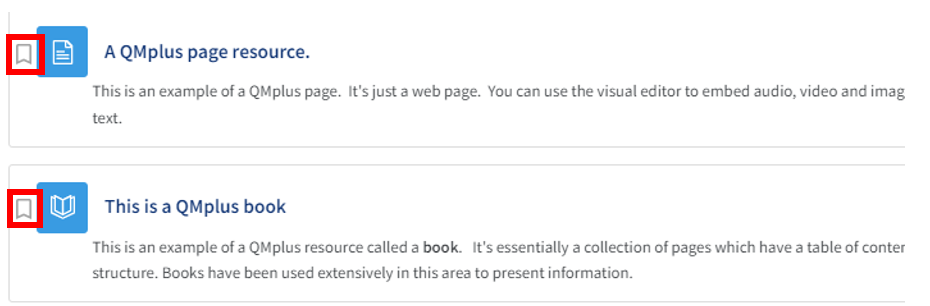
Bookmarking
It is possible to bookmark activities and resources on QMplus pages using the bookmarking tool. Once activities or resources have been bookmarked they are viewable on your to-do-list where a text note and scheduled date can be applied.
Items in QMplus can be bookmarked by clicking the ribbon icon to the left. They will added to your to-do list.
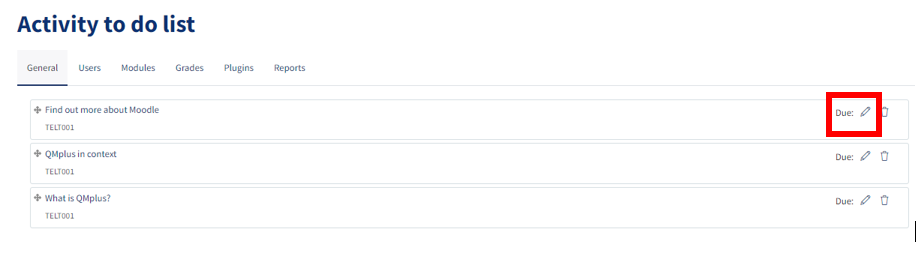
You can access your to-do list via the icon in the QMplus header.

On the Activity to-do list page you can organise your bookmarks and add due dates.
.png)
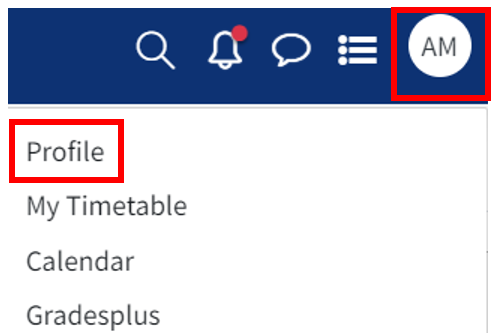
Your Profile and Preferences
To access your profile, click on your avatar in the top right corner, this will be a circle containing your initials unless you have uploaded a picture to your profile, and choose Profile.
On the next screen click the Edit profile button

From here you can edit your profile, there are various fields that you can edit on your profile, such as your location and theme. You can also add a short description for staff and fellow students to read.
Some fields, e.g. the email field is greyed out; you will be limited to editing some fields as they are updated centrally.
Other fields include the option to add a profile image, additional names (including pronunciation), interests, and optional contact information. Further, under ‘other fields’, staff can add their office hours and location.
PreferencesTo access your account preferences, click on your avatar again and choose Preferences from the list.
From this page you can choose how certain features in Moodle appear and work for yo, including preferred language, text editor preferences, and message and notification preferences.
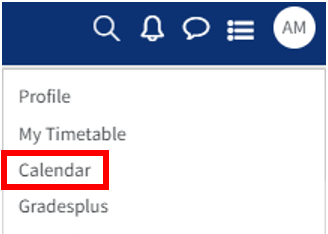
The Calendar
To access your QMplus calendar click on your avatar in the QMplus header and choose Calendar.
From here you can choose how you want to view your calendar
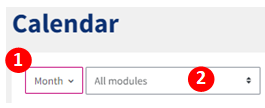
1. The calendar view can be set to month, day or upcoming events.
2. It can be set to show events from all of the modules you are enrolled on or specific ones.
The calendar is automatically populated with any due dates from your Modules, events can also be added to it.
To add an event
Click the New Event button in the top right corner.
A pop up will open to allow you to create the event
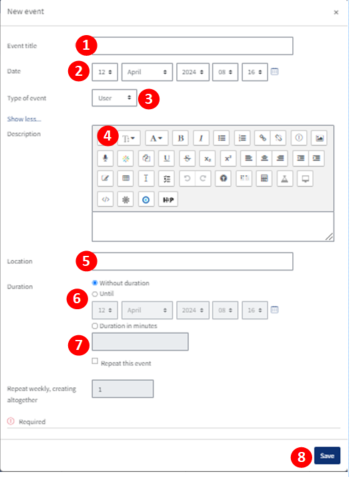
1. Enter a title for the event
2. Set the date if the event
3. Choose what type of event this is
- User - will only be visible to the user who has created the event.
- Group Event - will be visible to a particular Group on the course.
- Course Event - will be visible to the participants on the course in question.
- Category Event- will be visible to the participants within the chosen category.
- Site Event - this is a global event, visible in every course and on the home page calendar, Only users with specific permissions can add site events.
5. Enter a location if required.
6. If you want to set a duration, you need to untick the 'Without duration' checkbox.
7. You can set a duration in minutes for the event if you wish to.
8 The event can be set to repeat if needed.
When you are happy with the settings, click Save.
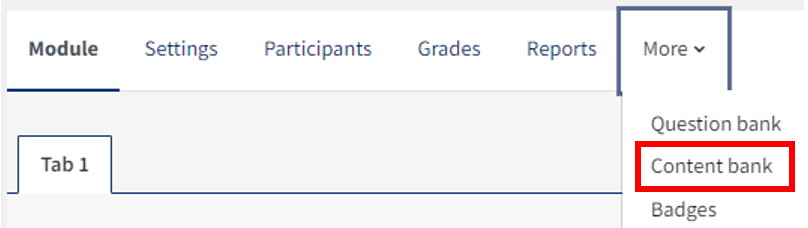
The Content Bank
The content bank is a repository within QMplus where H5P content may be stored, edited and created.
You can access the content bank from the task bar on a module page.