Quick Mail
Introduction
Adding The Block
1- To add the Quickmail block, go into your course page and turn edit mode on
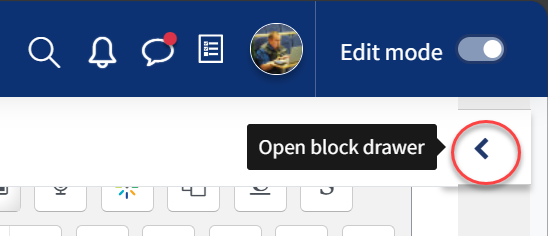
2- Please click on the left facing arrow head to open the block drawer
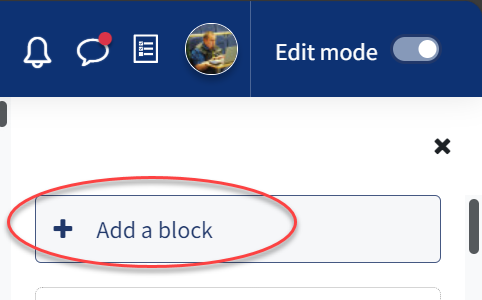
3- Click on the add a block
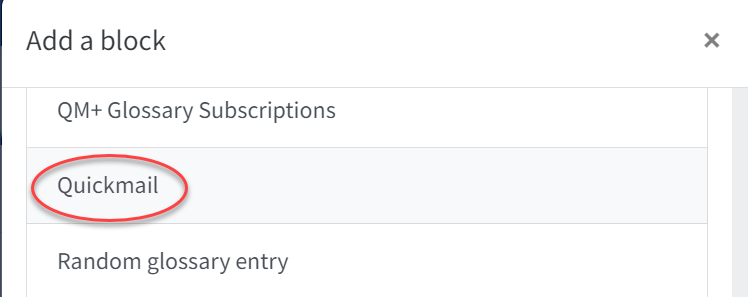
4: Scroll-down and select ‘Quickmail’ – the block should now appear on your page
5: Example of a Quickmail block

Communicating With Students Via The Quickmail Block
Once the Quickmail block has been added it will appear on your page as shown below. It adds a link to a tool that has a check box list of all students in the course, and a mail composition text area – staff (or students, if permitted) can select who they want to send the message to from the list. It adds a link to a tool that has a check box list of all students in the course, and a mail composition text area – staff (or students, if permitted) can select who they want to send the message to from the list.
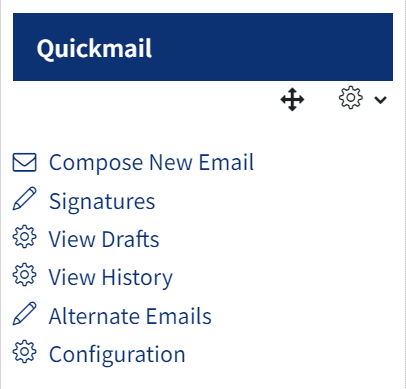
Step 1 (Optional): Select ‘Signatures’ in the Quickmail block to add your signature. Add your ‘Title’ and insert a ‘Signature’ in the text editor below. You can also upload a scanned or drawn signature by adding an image. Select ‘Save changes’.
 (1).png)
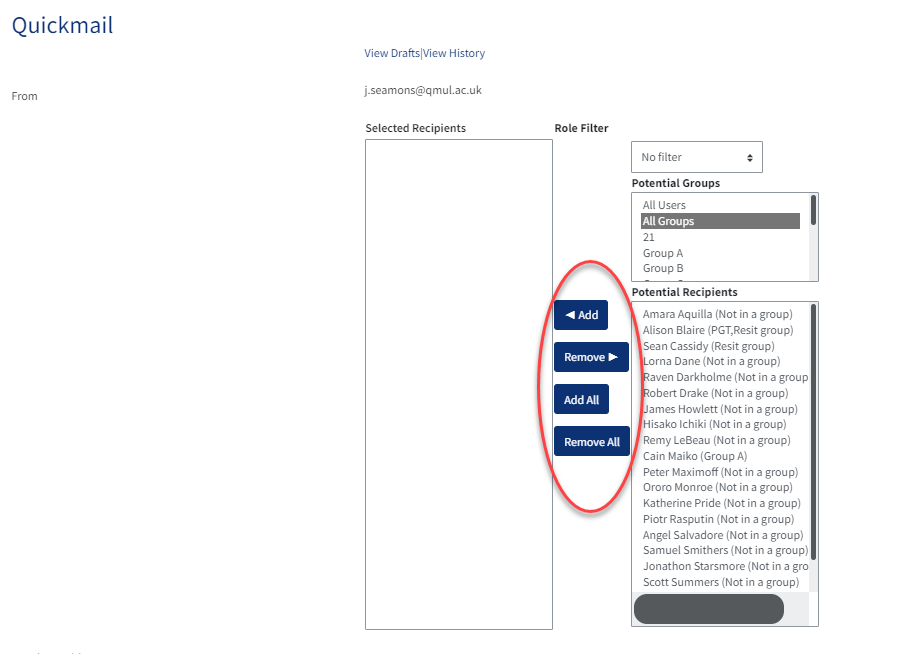
Step 2: To compose an email or draft email:
- Select ‘Compose new email’ on the Quickmail block.
- Select your group or your potential recipients and add them to your selected recipients using the ‘Add’ button.'
3. Once you scroll down you will have the option to add ‘Attachments’ as you would in your email. You can do this using the ‘Drag and drop’ functionality.
4. Enter a ‘Subject’ title and ‘Message’ to mail to your students.
5. You will also have the option to add or not add your signature which you may have set up (step 1).
6. Once you are happy to send your email select ‘Send Email’.
 (1).png)
Other links under the Quickmail block
There are other links underneath the Quickmail block which offers options to explore. Please view the subpages below:
View History - view the history of emails which you may have been sent.
Alternate Emails - add another email.
Configuration - Other links under the Quick Mail Block - learn about other settings you can explore.