The basics
Although you are able to customise your own module area, please be aware that each school has its own process and guidance for setting up QMplus courses for students within the school. It is recommended that you contact your local School's e-learning / digital specialist to confirm if there are guidelines or school templates to follow.
Setting up your topics
In order to edit the module area you must first
- Turn editing on (top right – toggle button)

The default course format for QMplus module areas is the ‘Topics’ format. In this format the topic sections within the page are closed by default and can be opened by clicking on the section title or ‘bar’. You can turn off the “collapsible” feature by changing the setting in your course settings.
It is possible to change the format of your QMplus area. You can read more about this on the choosing your course format guide
How many topics you have and what they are called is up to you. You should check that all your topic sections have meaningful names, e.g. if you are using week numbers, it’s useful to include some description of what is being covered that week as well as the week number. To edit the topic title:
- Turn editing on
- Click on the 3 vertical dots to reveal the drop down menu and select 'Edit topic'
.png)
- Add a Topic/Section name of your choice
- Click ‘Save changes’
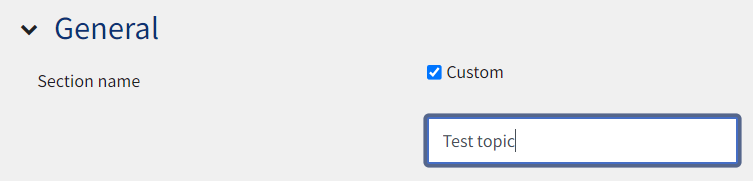
- The results will display in the header of the topic .
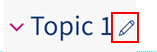
- Alternatively, you can click on the pencil icon to the right of the topic name, edit the name and then hit the Enter key to save changes.
Adding or deleting topics
You can edit your topic descriptions on QMplus to provide more information about the topic, or instructions. You can also add an image to the topic description. This video shows how to do this.
Adding a module image and welcome text
You can add a module image and welcome text which will appear at the top of your QMplus area:
- Turn editing on (by clicking the edit mode toggle button in the top right corner)
- Under the top most set of options at the top of the course, look for the first set of vertical dots
- Select the dots and then 'Edit section'
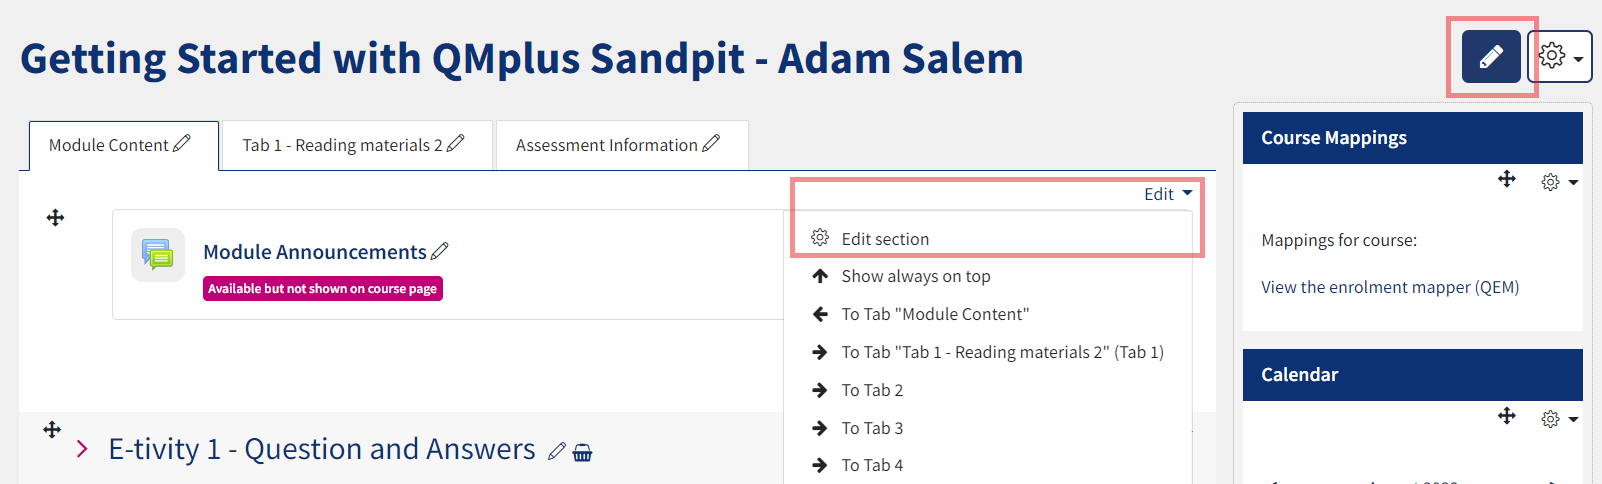
You can now make changes to the top area, such as:
- Change the static text – e.g. add a welcome message to introduce the course or you can introduce yourself to your students or add any bit of text you'd like students to first be greeted by upon entering the course page.
- Adding an image :
A) To display at the top of your course page. By placing it within the course summary textbox . To do so look for the 'insert image' button in the editor and select your image.
Please ensure that you have permission to use it. (Please see the Library advice on copyright if you are unsure). Flickr Creative Commons is a useful place to look if you don’t have an image.
If you wish to change the image after you have uploaded it then click on it and you'll see a pop up window allowing you to select ‘delete image’ and save changes. Select the ‘edit’ icon again reopen and upload another image.
B) To represent the course on the Dashboard/My Module areas. This image is different to the one you'd see at the top of the course page. To add one, go to the course Settings, scroll to the description and look for the 'Course image' section. Select your file using the upload options available..png)
You can either drag and drop the file, or click the grey arrow to upload it. This image will display on the Dashboard or in the My Modules area for users who are enrolled onto the course.
For more information please view the Course image Moodle doc.When you have completed everything, remember to save your changes!
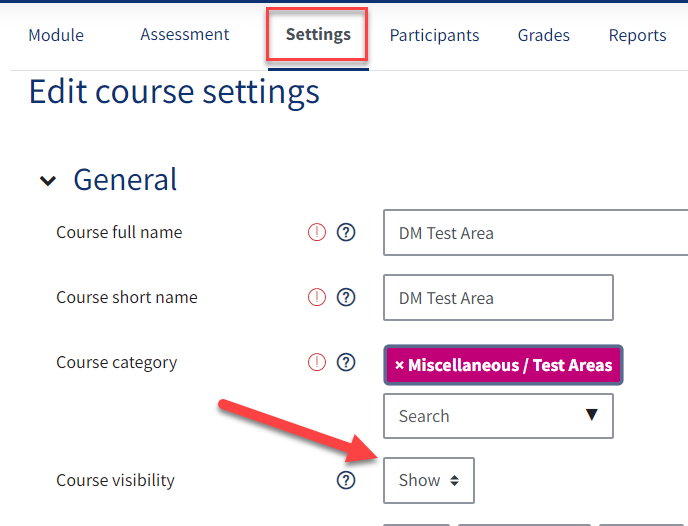
Course visibility to students
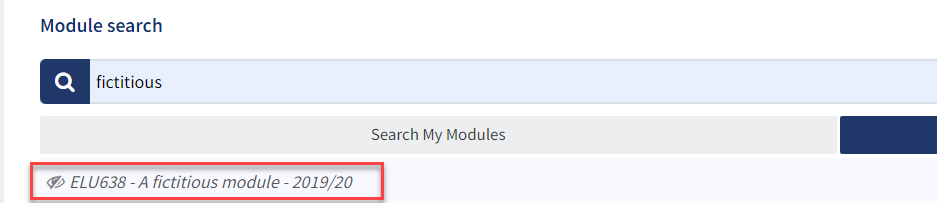
You can "hide" your course from students completely. It will not appear in their list of courses, but it can be seen my course admins, teachers or users with the view hidden courses capabilities. Even if students try to access the course URL directly, they will not be allowed to enter.
They may notice the course displaying in the search bar on the Dashboard but it will be in light grey text similar to the below:
To change the visibility of your course, go to the Settings tab of your course and toggle the option in the drop down menu as seen below:
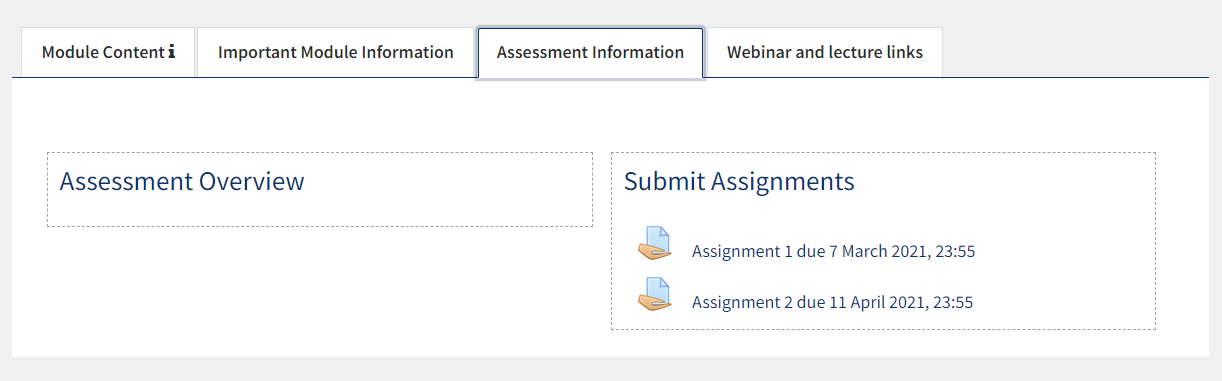
Assessment Information
You can enable the assessment information tab in the settings of your course. By default it displays as a two-column area in the top tabs of the page. Please refer to the 'Assessment panel' guide for more information.
The Module Information Block
By default you should get a 'Module Information Block' added to your new QMplus module area. This will appear in the block drawer to the right of the course page. This block contains core information for students about the Module, who is teaching it and how they can be contacted, where the module is taught and other useful information.
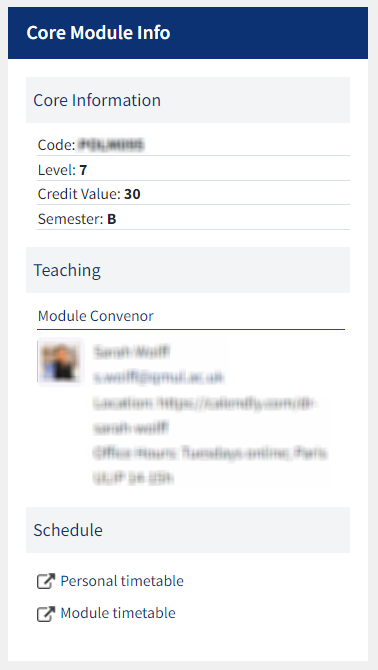
You will need to update this block so that it has the appropriate information for your module. Please refer to the 'The Module Info Block' guide for information on how to update this block.
Additional Blocks
Apart from the Module Information block, there are several other blocks that may come by default with your QMplus template, or you can add them (and remove them). To learn more about blocks in QMplus, please refer to the Adding a block to your course guide.
Making Final Checks
Once you are finished building your module page, you can begin to add content, such as documents and activities (under the 'Add a resource or activity' links within each section/topic area once you had Edit mode turned on.)
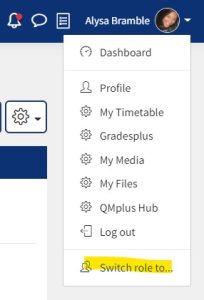
You can also check what the module will look like for students by clicking on the 'Switch Role to...Student' - you can find this link under your profile menu at the top right of the page.
Useful Resources
- Choosing your course format (Wiki guide)
- Adding and deleting topics (Wiki guide)
- Course image Moodle doc (Moodle doc)
- Assessment Panel (Wiki guide)
- The Module info block (Wiki guide)
- Adding a block to your course (Wiki guide)