Using video and audio in meetings
Configure your audio and camera
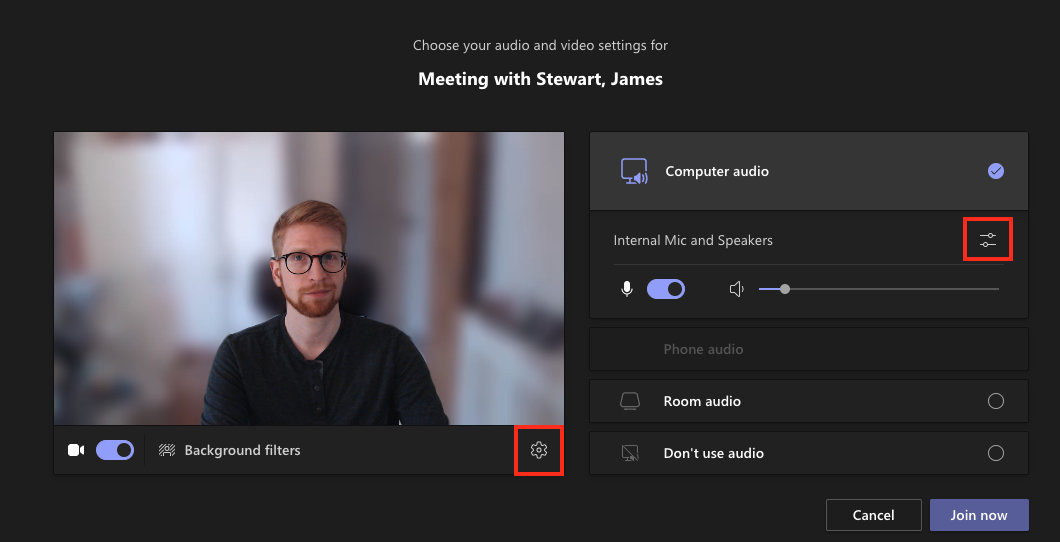
Prior to entering a meeting, you will be presented with a window allowing you to choose your audio and video settings. From this screen you can select both the input and output devices for audio and the correct video device. By default, Teams should detect the most appropriate microphone and camera for the meeting, however, you can change this (i.e., to select headset or external microphone) by clicking the small ‘slider’ icon under the heading Computer audio.

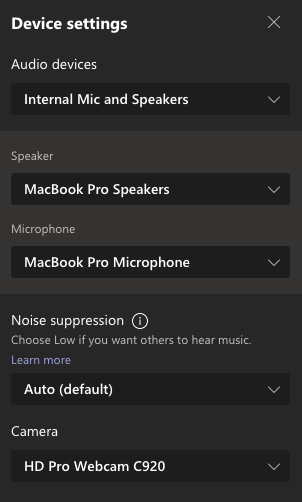
This will open the Device settings menu where you can choose from all of the microphones, speakers, and cameras connected to your device. You can also use this menu to adjust to the level of Noise suppression depending on the amount of background noise in your environment.

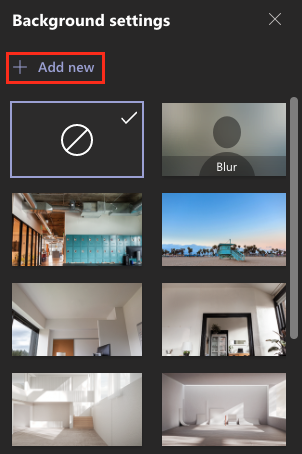
To preview your camera before joining, toggle the camera setting on to display a preview of your video. You can click Background filters to select a custom virtual background or blur your background prior to joining the meeting. Teams will remember your preference and automatically use your background filter for future meetings, even if you join the session with your camera switched off.

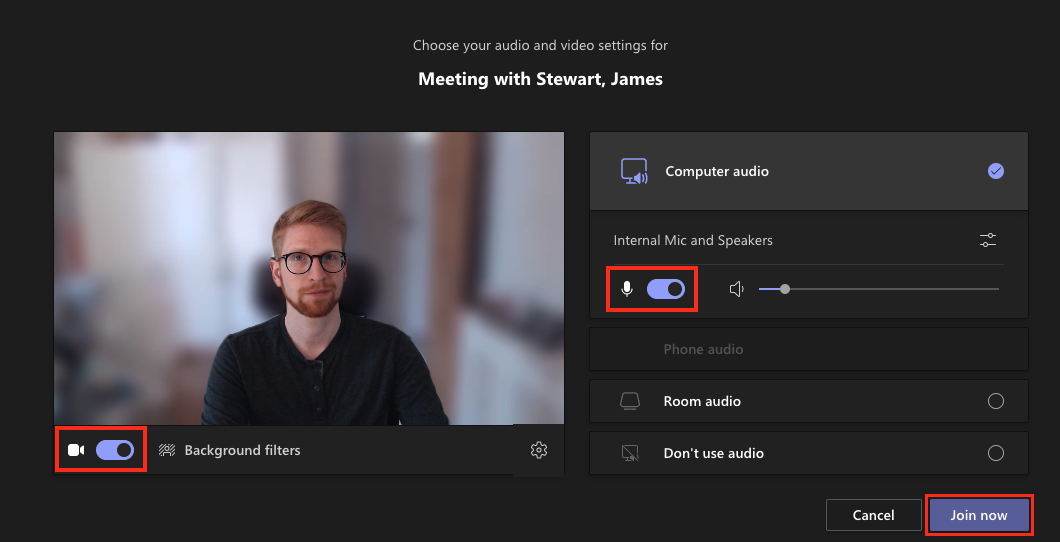
To join with audio and video enabled, ensure the toggles beside the microphone and video icons are selected. Once your audio and video preferences are set, click Join now to enter the meeting.

If you are preparing to host a presentation, you may want to adjust these settings and have a quick test meeting with a colleague to ensure that all of your devices are configured correctly so your audience can see and hear you clearly.
Using video in MS Teams
Using video in Microsoft Teams - Microsoft Support
Muting and unmuting your mic in MS Teams
Muting and unmuting your mic in Microsoft Teams - Microsoft Support