Uploading a file
Drag and drop files onto your course page
The easiest way to upload a file to your QMplus course area is via drag and drop. All you need to do is drag the files from your computer desktop onto the place in your course area where you wish them to appear.
- Turn editing on in your course area
- Go to the topic where you want to add your files
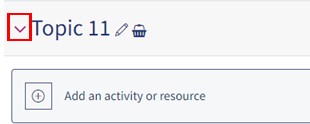
- If your course format is Topics ensure that the topic is “open” by clicking on drop down arrow next to the topic so it looks like the image below.
Select the required file(s) on your computer desktop and drag them onto the topic. You can drag and drop more than one file at once.
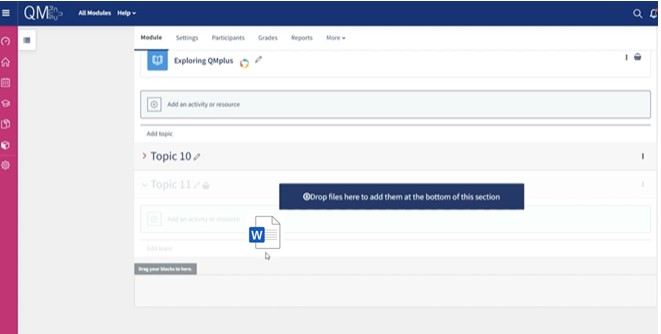
A dark blue drop zone with instructions will appear, drop the file onto it and it will be loaded onto your course
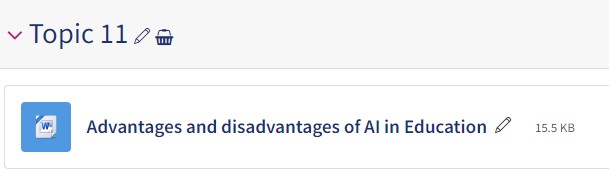
Your files will start to upload, progress bars will show you the status of the upload. QMplus will attempt to associate the appropriate icon with the file type, in this case the files are PDFs.
By default, the title of the files will be the name of the file. You can click on the pencil icon to change the title if required, or click on the “Edit” menu to change other file attributes. You’ll notice that in this case the file size is being displayed. This is something you can set through the file attributes.
Course pages with long lists of files can be difficult for students to navigate. Have a look at some tips if you have a course area with lots of files in it.
Using the filepicker to upload a file
If you are not able to use drag and drop to upload your files, e.g. if you are on a mobile device, you can use the file picker to upload files instead. This is more laborious than the drag and drop method.
- Turn editing on in your course area
- Go to the topic where you want to add your files
- If you are using “collapsed topics” ensure that the topic is “open” by clicking on the topic title if necessary
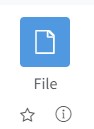
- Click on Add an Activity or Resource and choose File from the menu.
- Give your resource a name. This will be the name that is displayed on your course page. The description is optional but can be useful if you need to give your students further guidance on what the file is for.

You can drag and drop a file into this area to upload it, or use the file picker to select the files you want.
To use the file picker, click the Add files button
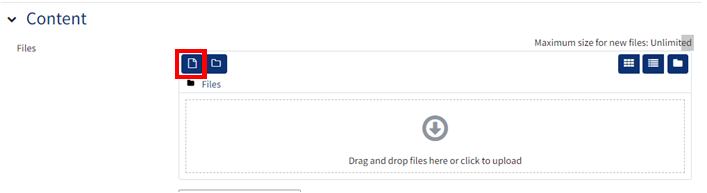
This will take you to your Documents on your device, from here you can select and add files.
You will notice that there is also an icon on the bottom for Dropbox and OneNote. You can upload files to QMplus from your Dropbox account by clicking on the icon and logging in as prompted.
Tips for files
Topics full of long lists of files can make your course home page very long and difficult for students to find what they are looking for. You can make it easier for your students by:
- Putting related files into folders
- Breaking up long lists of files with labels
Also, remember that students will have to have software installed to be able to open the files that you put on QMplus. If you upload a Microsoft Word file, they will have to have software which can open Word documents.
You could also consider using resource types such as a Page or a Book to distribute information to your students. These have the advantages of:
- Being able to be viewed in a web browser without any software being required
- Being editable on QMplus through a browser. Changes to files require that the file is downloaded, edited and then re-uploaded
You can view a case study from the School of Medicine and Dentistry which explains why they use books for many of their learning resources.