Using the Database activity
Adding and configuring a database activity
With editing turned on, in the section you wish to add your database, click the Add an activity or resource link and choose Database.
Give your database activity a title and a description. The settings in the activity are largely the same as for other activities in QMplus. Settings that are unique to the database activity include the Entries section.
By default, students can add entries to a database. If you do not want them to be able to do this you need to change the permissions on the database activity. Unfortunately this is not done through the activity settings. Please see the section Setting your database so only staff can add entries for further information
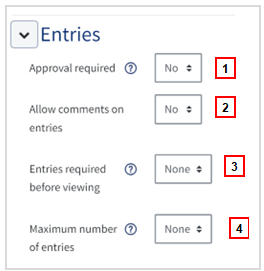
- If you do not want student entries to be visible to others until they are approved by a member of staff, set Approval required to Yes. Then decide whether you want students to be able to edit their entries after they have been approved.
- If you'd like students to be able to comment on entries, set this to Yes. There is no way to moderate comments before they become visible.
- If you want to force students to contribute their own entries before being able to see anyone else's, use this setting.
- Use this setting to limit the number of entries a student can make.
Adding your Database fields
One of the first things to think about is what data your database is going to contain and how that information will be entered.
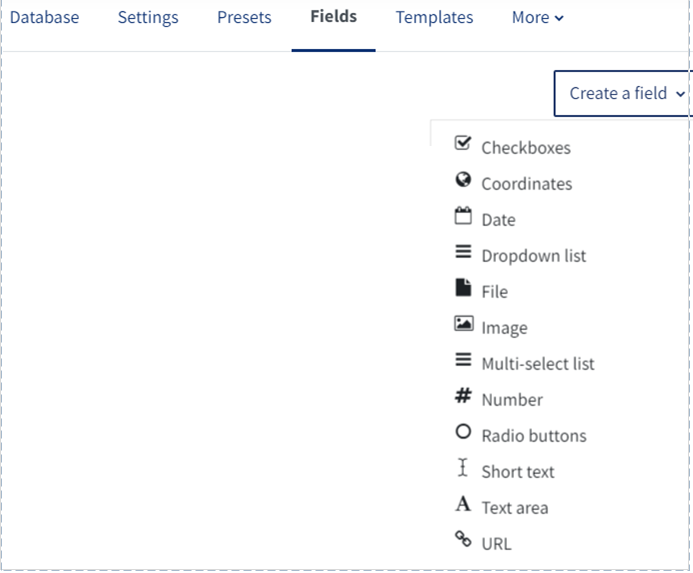
- A field is a named unit of information. Each entry in a database activity module can have multiple fields of multiple types e.g. a text field, Date, Number or a menu. Define the fields or use a preset from the drop-down (see below).
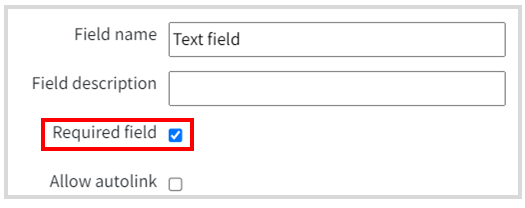
- Give your entry a name that is unique and short. The description is for your benefit to help identify that field.
- If you need to ensure one or several particular fields are always completed, then tick the box 'Required field' when setting up the fields for your database (see below).
Click the Add button. Add more fields using the same process.
Adding an entry
Go to the "Add entry" tab.
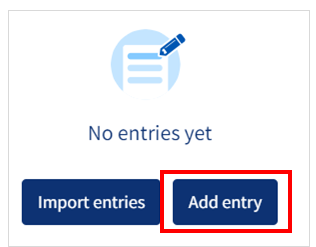
- This will display your fields and depending on your fields it will allow you to enter text or choose data from the drop-down list.
- On this screen you can also
- View single: one item at a time
- View list : several items at a time
- Search : search the entries
Setting your database so only staff can add entries
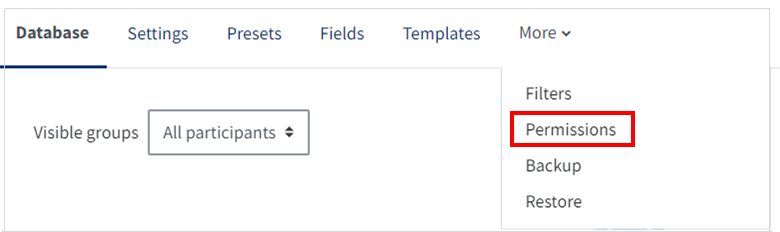
By default, students are able to add entries to a database activity. If you do not want your students to make entries to the database then you have to change the permissions on the activity. To do this, click on the Permissions button, under the More tab
Scroll down to Write Entries section and click on the plus sign under Read only role
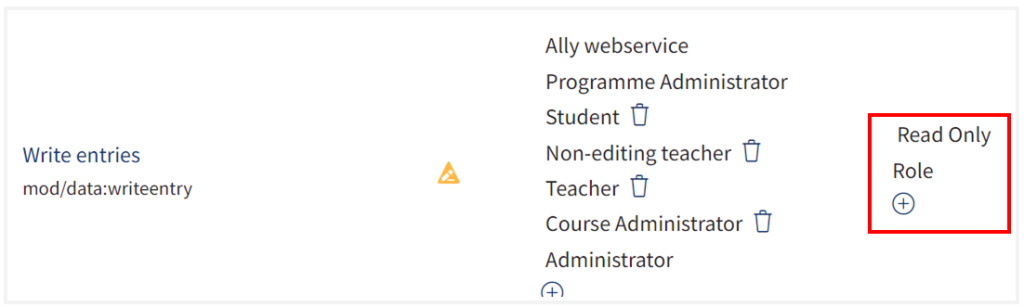
Choose Student from the list.
Case Studies of Database use at QMUL
The database activity has been used at QMUL in a variety of different ways...there are probably lots more that we don't know about. These might give you some ideas about how you might make use of the activity:
- Project databases - staff in the School of Mathematical Sciences and in the School of Electronic Engineering and Computer Science have used the database activity to gather project information for students
- Organising research resources - Dr Dan Todman in the School of History has used the database to help his students organise their research materials.