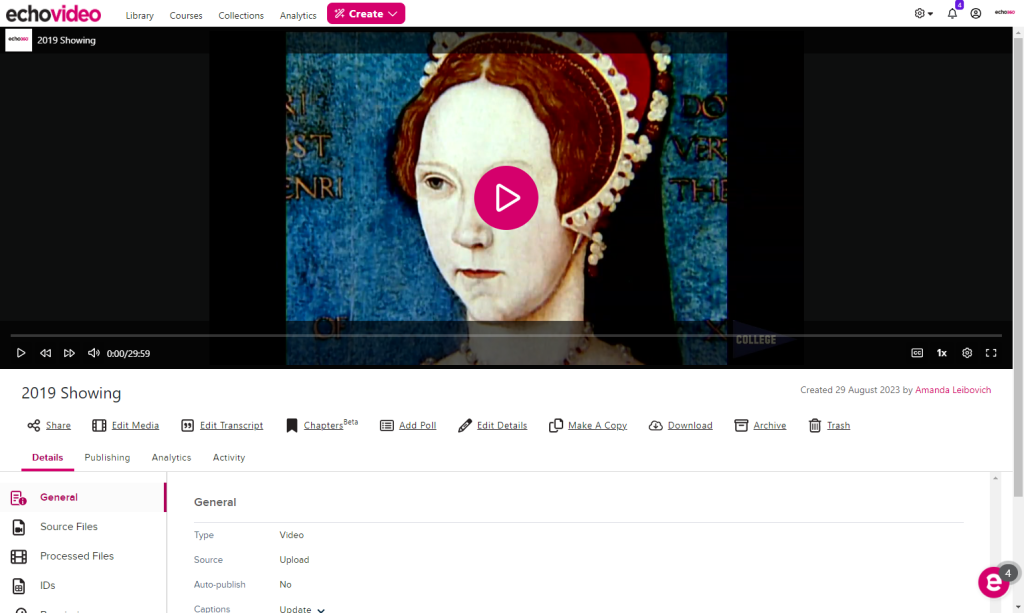
Navigating Echovideo
Navigating around EchoVideo
Navigating around EchoVideo is done using the Main Menu options located at the top of every EchoVideo window. For most users, there are three options:
- Library - This is your media Library. It holds all of the media you can view outside of a course. It contains both media you own and any media that another user has shared with you.
- Courses - This page lists all of the courses / sections you are enrolled in (as your current role; if you occupy multiple roles in the system, such as student and teaching assistant, change your role to see your courses with that role).
- Collections - This is where you can access any collections you are a member of, where you can create new collections to hold media, and add users to your collections. Some institutions have the Collections option disabled; in this case, you will not see a Collections option in the main menu.
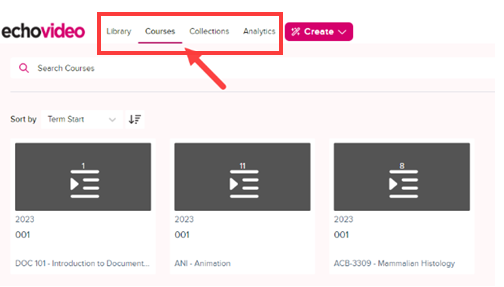
Along with the navigation links described above, the main menu has a Create button. This allows you to Upload media to your library, OR launch Universal Capture to create new media and then upload it.
Seeing Your Library
Click the Library option from anywhere.
The Library page provides access to some of your Collections (if you have any) and all media you have access to outside of an EchoVideo course. This includes any media you have added to the system, media that has been shared specifically with you, and media that resides in any Collections you are a member of
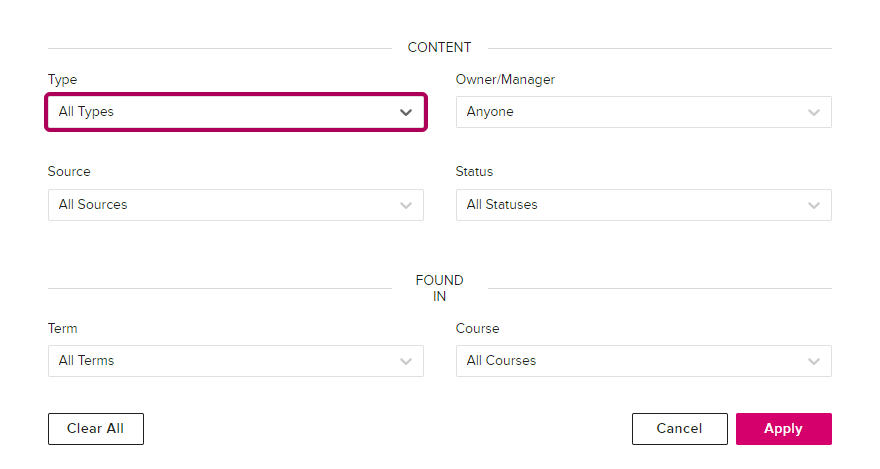
Use the Filter option located on the top right side of the Library page to limit the media (and collections) shown on the Library pageThe Filter options include filtering by type of media, whether you own the media or not, whether it has been shared with another user or a course, and the ability to view media specific to a course (relevant if you are an instructor who owns a lot of media across many courses and terms).
Using Media Tiles
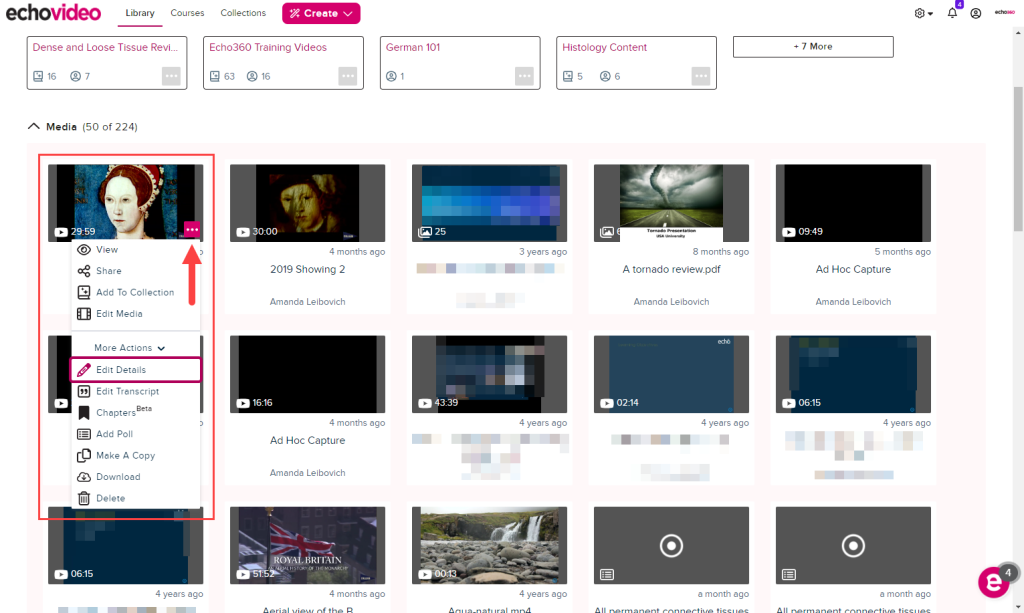
The media tiles on the library provide at-a-glance information. They show the length of the video or the number of slides in the presentation, the name or title of the media, and at the bottom of the tile, the owner's name. If the owner listed is someone other than you, it is media that has been shared with you, either directly or through a collection.
Hover over the tile and you get a menu button, as shown in the below figure. This is the menu button for all actions you can perform on the media.
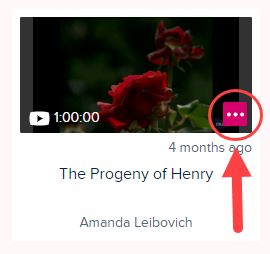
Click the menu button. The options available on the menu depend on whether you are a student, teaching assistant, or instructor, whether or not you own this piece of media, and a few other system settings.
Click on the tile to open the Details page. As discussed in The Media Details Page, this page is the one location where just about everything you can do with media is available.
