Adding a Calendar block
The ‘Calendar’ is one of the customisable ‘Blocks’ that can be added or deleted from your course page. If the ‘Calendar’ Block is not visible on your course, it will need to be added.
Adding a Calendar to your course
1. Switch Edit Mode on, using the button in the top right corner
2. Click Add a Block in the top right hand side
3. From the block menu, choose Calendar.
Adding an event to the Calendar
1. To add an event, click on the date in the Calendar you wish to add an event to.
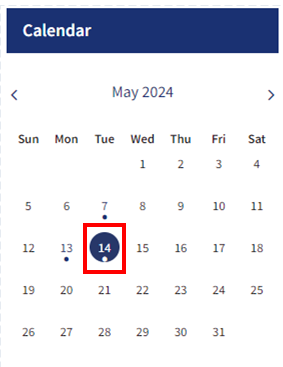
2. Click the New Event button in the top right corner
![]()
3. Enter a title for the event, and then choose what type of Event it is
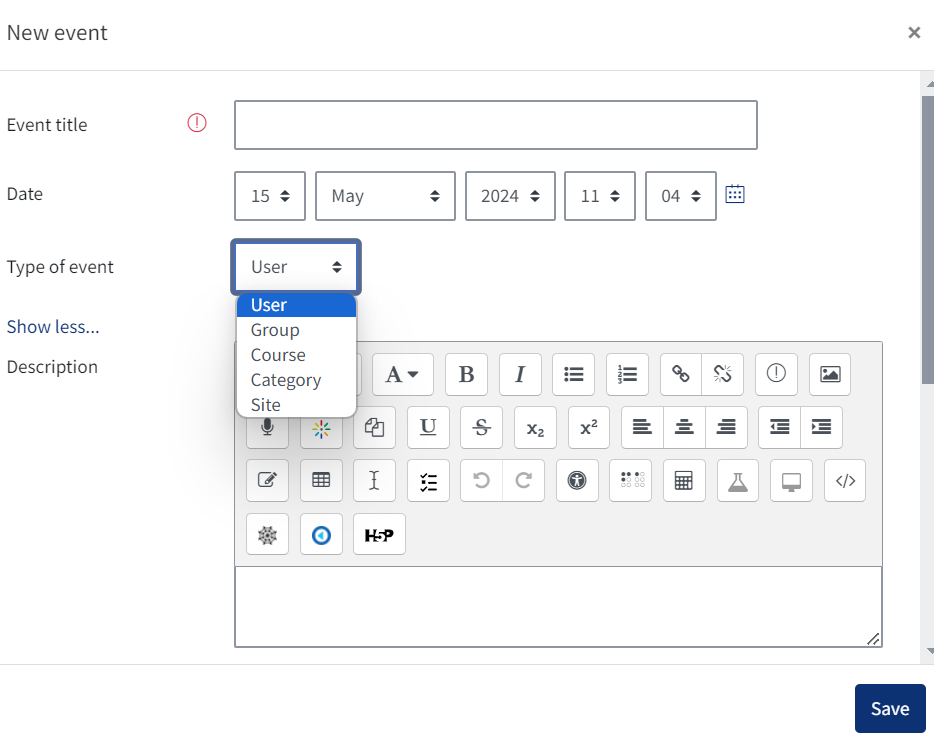
The types of event affect who will be able to see them in their own calendar.
- User - these events are visible only to the person who created them
- Group - visible to the members of a specific Group within a course
- Course - visible to all those enrolled on a specific course
- Category - visible to all those enrolled on the courses within a specific Category
- Site - Visible to everyone enrolled on QMplus
4. If you then scroll down you can choose to enter a duration time for the event, and set it to repeat if required.
When you are happy with the settings, click Save.
Viewing an event on your Calendar
A Calendar entry will appear as a dot next to the relevant date
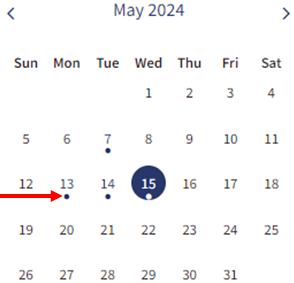
Clicking the dot will open the event so you can see the details more clearly. the events are colour coded according to the type of event it is.
There is a key to the colours on the right hand side when an event is opened.
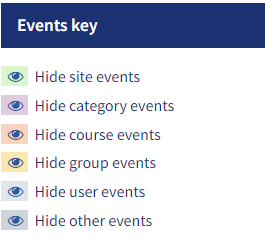
You can choose to hide any events you don't want to see by clicking on the eye icon.
At the top of the page there is a drop down menu which gives you the option to change the view to Month or Upcoming events
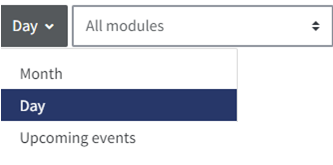
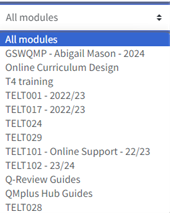
You can also choose whether to view all the modules you are enrolled on or just a specific one.
There is also a New event button available on this screen.
Activities with due dates such as Assignments are automatically added to the Calendar.