Displaying Important Information with the Module Info Block
The module info block is part of our QMplus baseline standards and therefore should be included in all taught modules. You can read more about this in our baseline standards pages
Most module areas in QMplus will already have a module info block. This may have come from a departmental template or it may have been added by a previous module organiser. If you cannot see a module info block in your module area, you will need to add one.
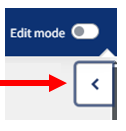
1. On the course page switch edit mode on, from the top right corner.
2. Click on the arrow in the top right of the page, this opens the block drawer.
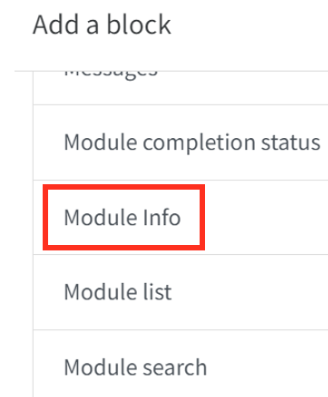
Click the Add a block button

Scroll down to Module Info and select it to add it to your course page.
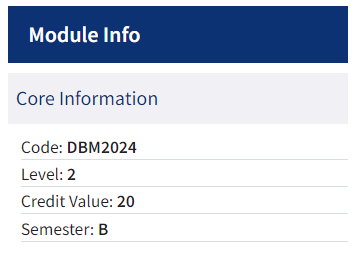
Core Module Info
The core module information appears at the top of the block and consists of 4 fields.
- Module code
- Level
- Credit value
- Semester – this is the semester that the module starts in
For standard modules, this information is populated automatically from information on the student record system.
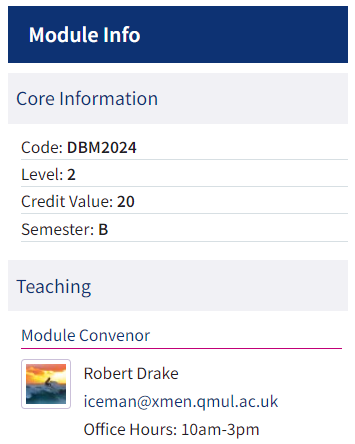
The core information should look like this:
If you would like to amend the information or add, for example, an additional module code then you can override the displayed information in the settings.
Modifying the Core Information
If your module is a standard taught module and the core information is incorrect, you should ensure updates are made to the data on the central system instead of modifying it in the module information block. Mismatched information between the student record system and QMplus can cause problems e.g. in enrolling the correct students on to the module area.
1. Switch edit mode on, from the top right corner.
2 On the Module Info block click on the cog icon located in the top right of the block.
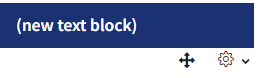
3. Select the configuration option from the drop down menu.
4. You will now be able to see the settings for the block.
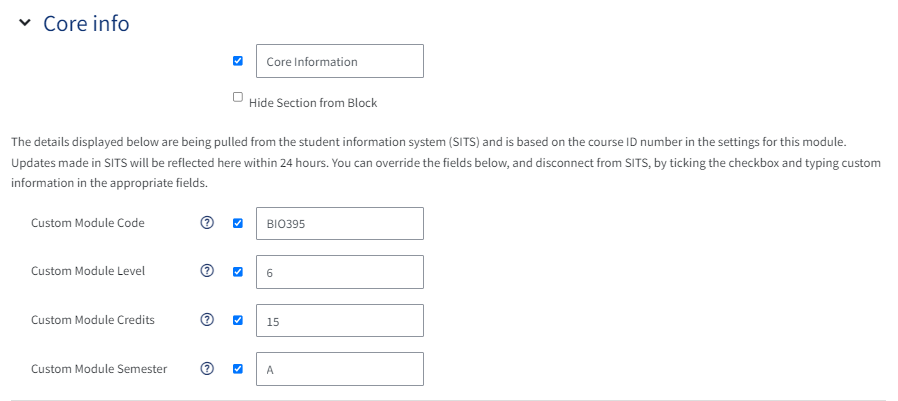
To modify a setting make sure the checkbox to the left of the textbox is ticked, then enter the desired information into the textbox.
Click Save changes.
Staff Information
You can configure the block to display the details of important staff members. By default, this part of the block is called Teaching but you can rename it, or hide the section from the block completely.
If your module area is linked to the student record system, the module convenor should automatically be displayed.
.png)
- Select the name for the main contact from the drop-down menu. Select custom if the title you wish to use is not in the list and type the heading you want to use.
- If your main contact is being picked up correctly from the student record system, you will not need to use this field. If you want to override what is being displayed or your area is not linked to a module on the student record system, enter the email of the main contact here. This must be the email that they are registered on QMplus with. N.B. Changing settings here has no effect on data on the student record system. If the wrong module convenor is being displayed, information is incorrect on SITS and should be updated there.
- By default a small image of the user and their name is displayed in the block. You can then select the additional information you would like to display by checking the appropriate boxes. This information is taken from the user’s QMplus profile.
Adding other Staff
You may have other important staff associated with the module, such as teaching assistants or administrators. You can add their contact details to the module information block. Note that in order to add them in this way, they must already be enrolled on the module area.
- Type in a heading within the Additional teachers heading field. For example, Teaching Staff.
- From the User drop down list select the person you want to add. The drop down list displays all the teachers and course administrators enrolled within the course.
- Select the fields you would like to display for this person
You can continue adding as many people as is necessary.
.png)
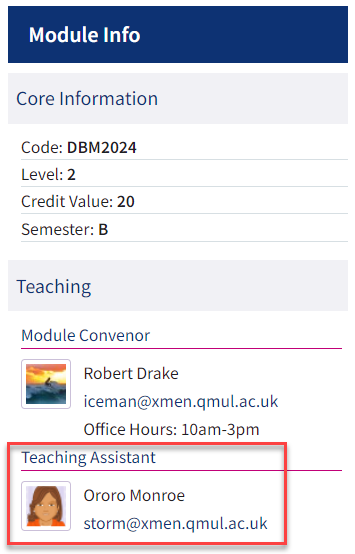
The additional user details will appear below the module convenor details.
Teaching Schedule Information
In this section you can provide information about teaching sessions. If your module teaching is scheduled on the central timetabling system, you can choose to display links to those timetables. If you have extra sessions that aren’t centrally timetabled, or your module isn’t centrally timetabled at all you can enter information about teaching sessions in this section.
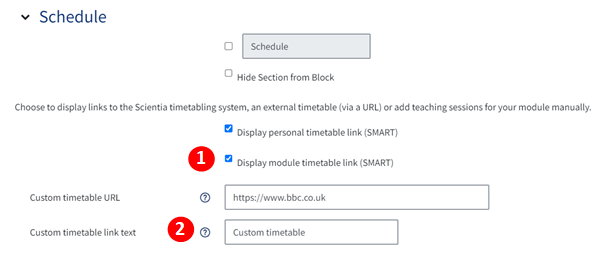
- Select whether you would like to display links for the module timetable and to a students’ personal timetable.
- If you have a custom timetable that is available via a weblink, you can add the link here.
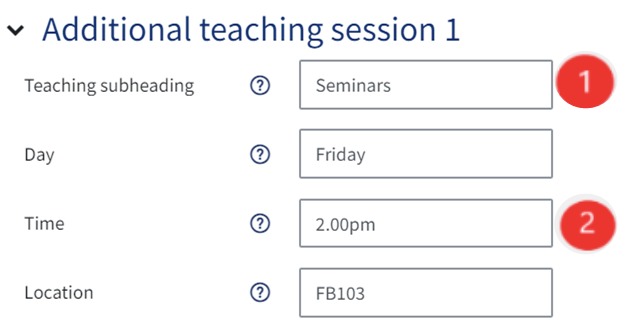
If you wish to add some additional teaching sessions:
- Enter the name for the subsection e.g. Seminars, Labs etc
- Insert the day, time and location in the appropriate fields
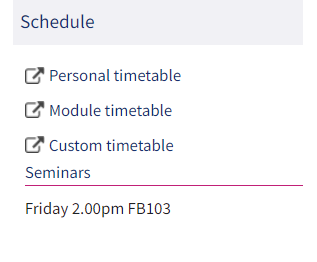
This is what it looks like after the changes:
Important Course Documents
These might include such things as handbooks, welcome packs, assignment cover sheets etc.
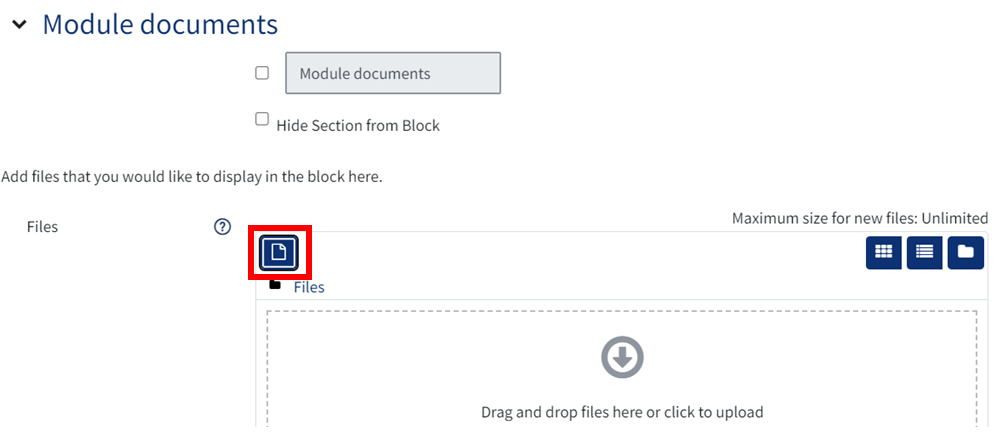
To add documents to the block:
To add a document drag and drop it in the section under ‘Files’. You can also add this manually by selecting the ‘Add’ icon from the top left corner.
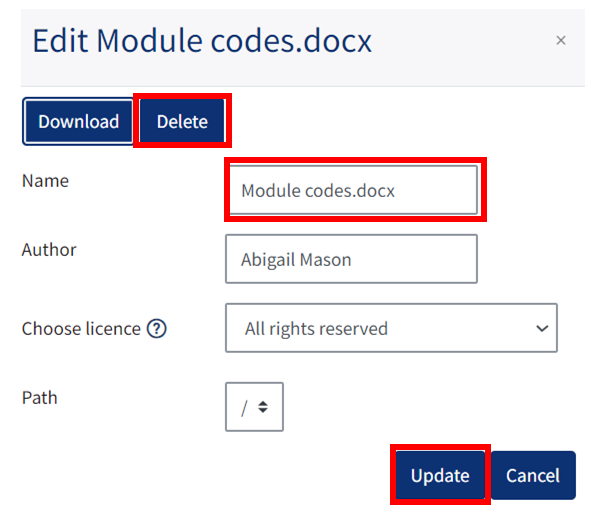
- To delete the file, select Delete at the top.
- To rename the document, rename and overwrite the old name in the Name section.
- Select ‘Update’.
Your block should look something like this.
Additional Content
This section provides a free text area to put any information you like. As the module information block is small we recommend you keep information in this section to a minimum.
To add information simply check the Additional Content checkbox and enter the content using the text editor.
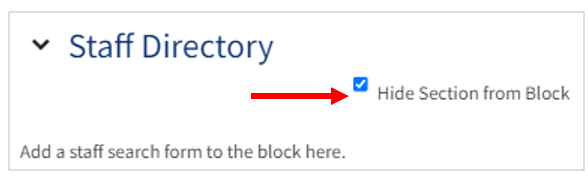
Staff Directory Lookup
If you enable this section, a simple form will appear at the bottom of the block allowing users to look up staff details in the university staff directory.
To enable it, untick Hide Section from Block
Once you have saved your changes a search box will be visible in the block
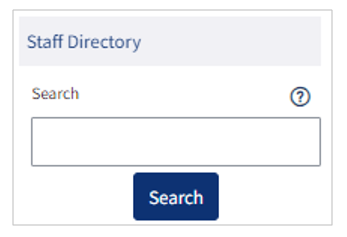
You can use this to search by entering a staff members name, a role or email address.
Putting your Block in the Right Place
Your block should appear at the top of your QMplus area. Ensure this is set to -10.
.png)