Captioning
Introduction to captioning
For accessibility purposes, you may want to enable live captioning for Zoom sessions. There are two ways to enable captions, the host can assign a participant to type notes or transcribe the audio, or Live Transcript can be enabled to display ‘machine-generated’ text. Please note that the Live Transcript is only available in English and, according to Zoom, the accuracy of the text may depend on the following variables:
- Background noise
- Volume and clarity of the speaker’s voice
- Speaker's proficiency with the English language
- Lexicons and dialects specific to a geography or community
Enable live captioning in your account
If the Closed Caption option is not available in your meetings, it must first be enabled in your account settings.
- Sign in to Zoom
- Click Settings, scroll down to In Meeting (Advanced), and enable the Close captioning setting.
- Tick the box beside Allow live transcription service to transcribe meeting automatically and Allow viewing of full transcript in the in-meeting side panel.
- Click Save and the captioning options will become available in your meetings.
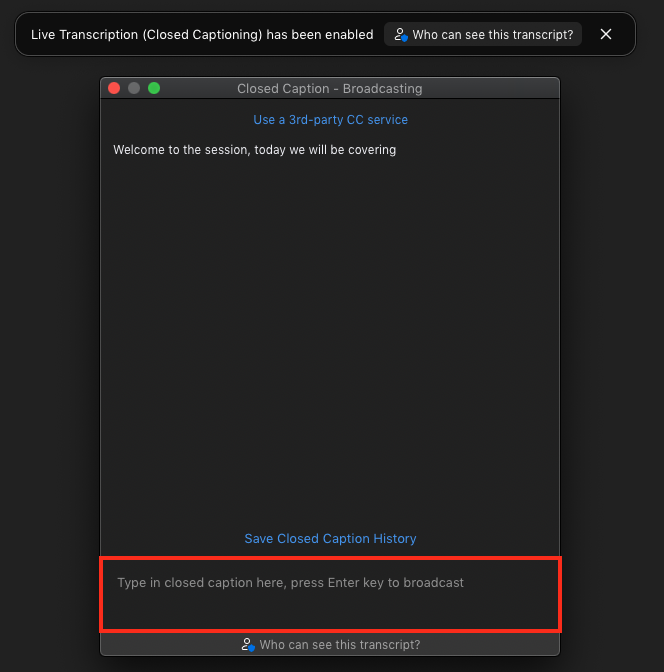
Assign a participant to type captions
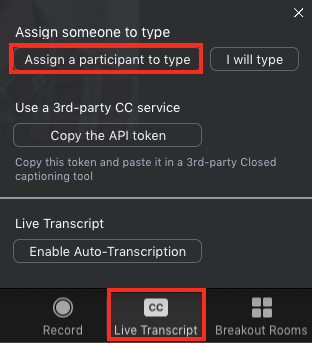
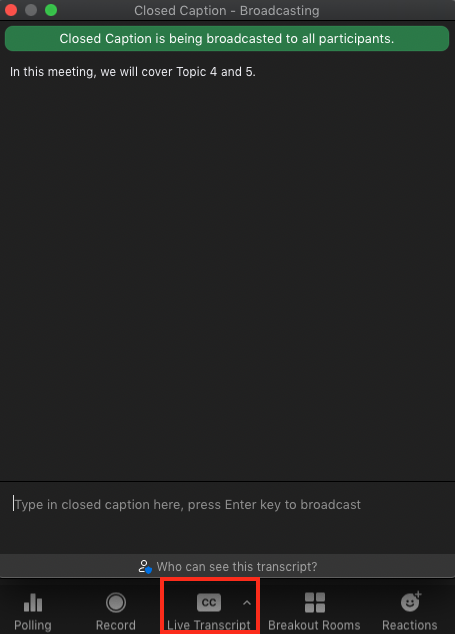
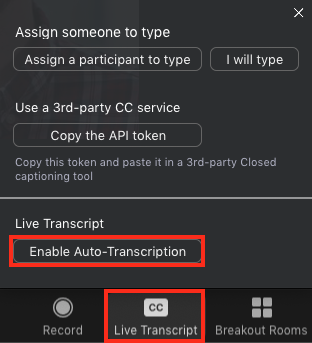
If a meeting participant has agreed to transcribe on your behalf, click the Closed Captioning button at the bottom of the window select the option Assign a participant to type. This will open the Participants panel where you find the user, hover your mouse over their name, click More, select Assign to type Closed Caption from the menu.
Enable live transcript in a meeting
To enable machine-generated captions for a meeting, click the Live Transcript button at the bottom of the window and select Enable Auto-Transcription.

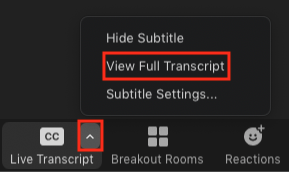
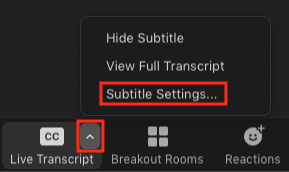
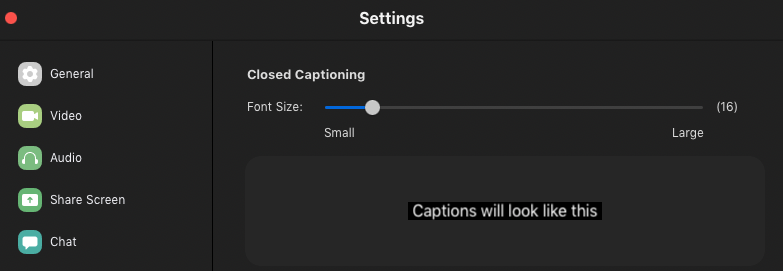
You can adjust the size of the displayed text from the Live Transcript menu by selecting Subtitle Settings or the Accessibility tab in the Zoom settings.